


 Equipment : S-line version
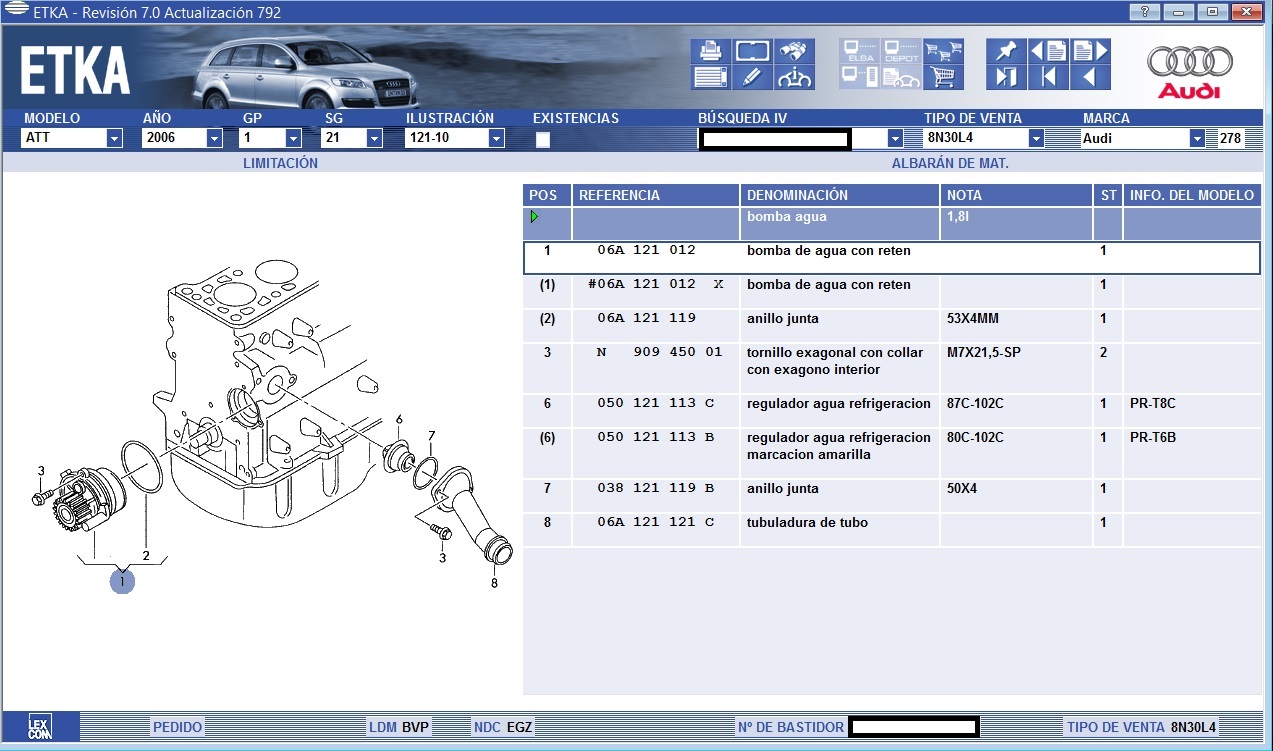
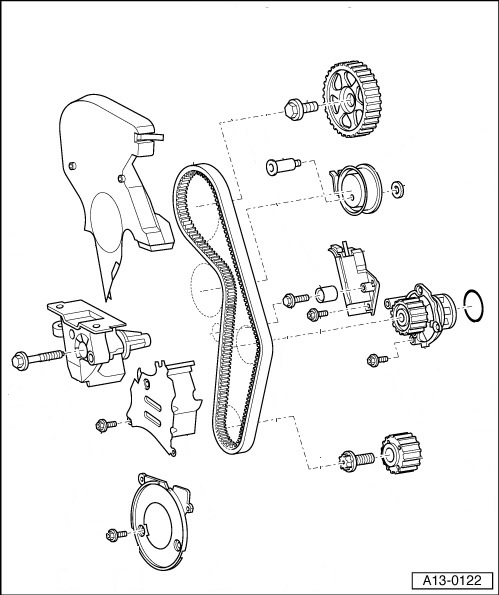
CHANGE KIT DISTRIBUTION AND WATER PUMP
Preliminary note:. Changing the distribution kit is not a simple operation, incorrect performance can have serious faults and is advisable to do by a professional in a workshop.
Previous 2 Note: In the "Documentation" (in the left menu), you can find official documents Audi with information on changing distribution and water pump.
According maintenance indicated by Audi for the Audi TT 1.8T engine BVP, changing the distribution kit should be done at 180,000 km, but for safety, many homeowners advance change distribution to 120,000-140,000 km. Yet there a second factor to make the change, which is time.
A reasonable period of change range if you do not get the miles indicated, could be 6-7 years.
|
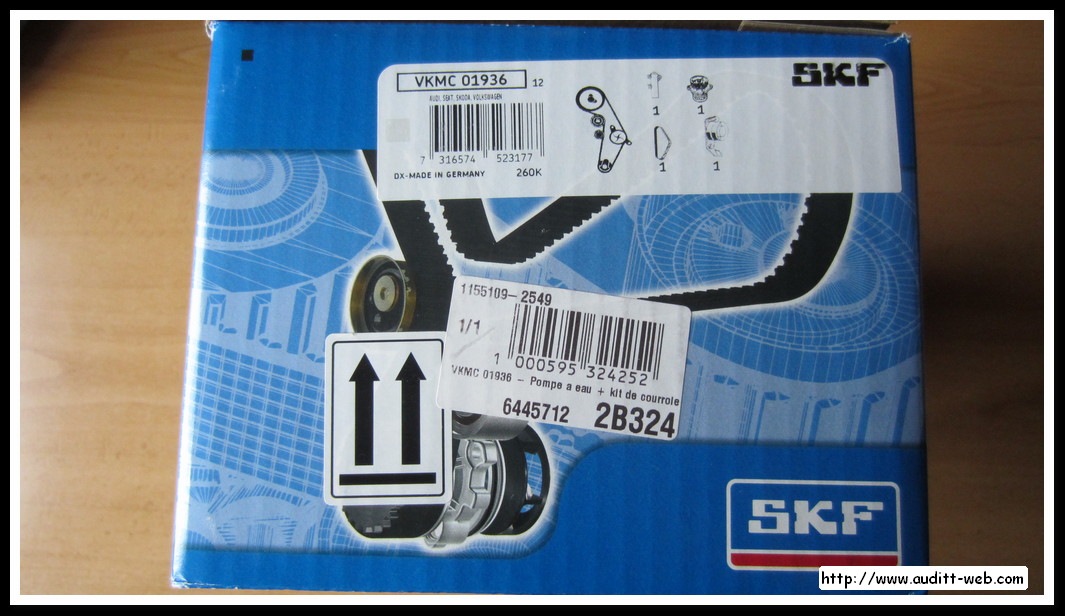
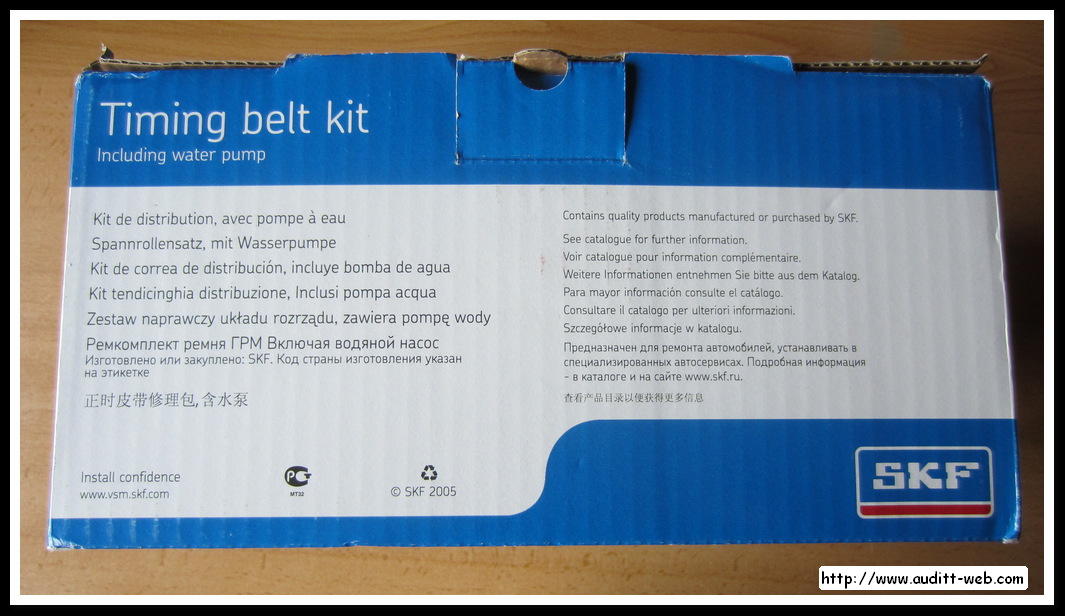
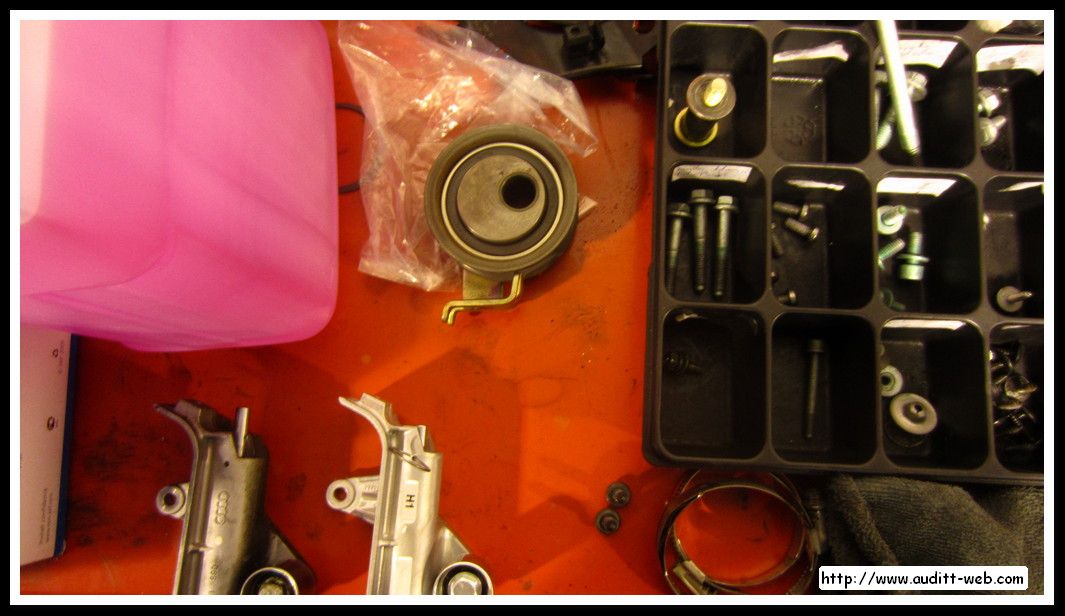
NOTE: Although in photographs of assembly appear SKF brand components, due to a high noise level when installed, were changed by the original components AUDI. It is noted that SKF is a renowned brand, and it is possible that this high noise level, it was a specific problem of the particular kit. The SKF kit is the following (adjusting screw and coolant G12 LASER PLUS PLUS purchased separately):
|
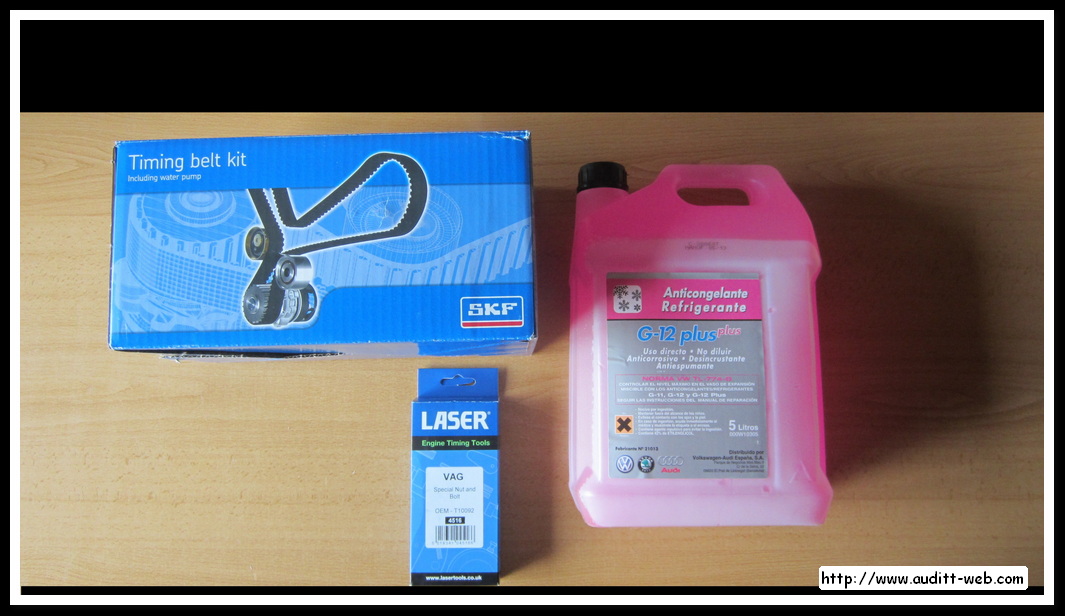

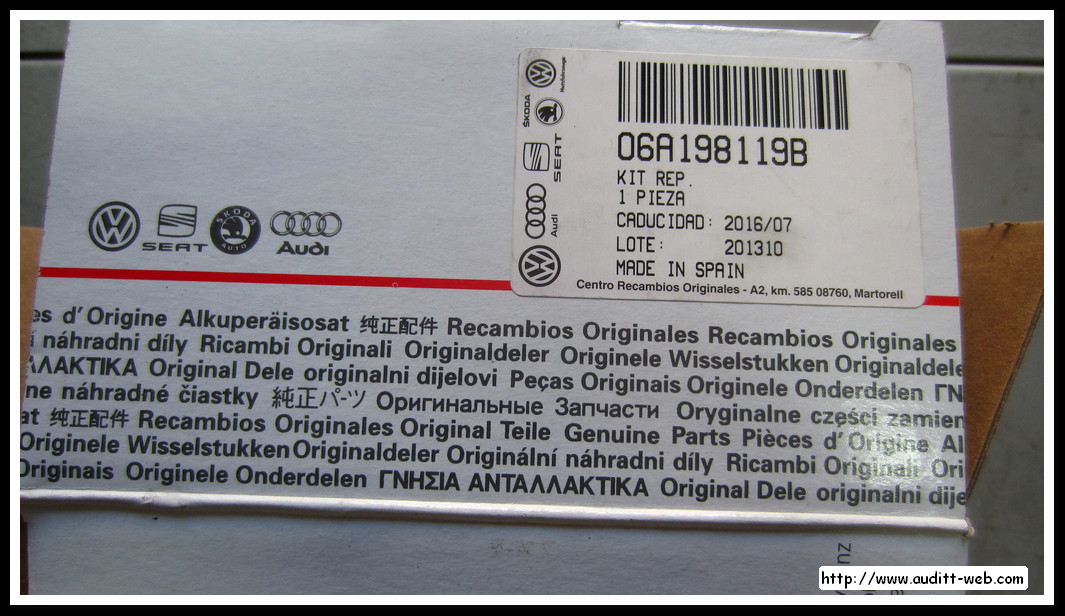
MATERIAL
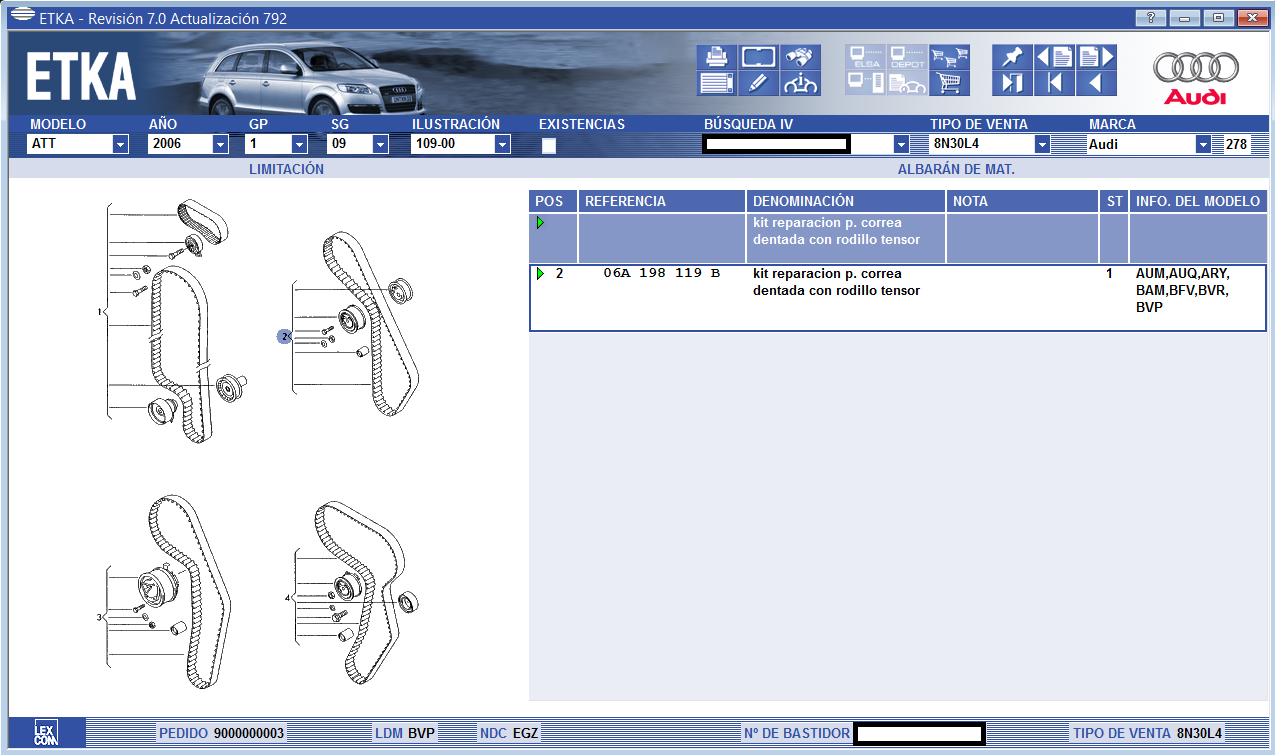
KIT DISTRIBUTION: 06A 198 119 B
 |
 |
 |
 |
 |
 |
 |
 |
 |
 |
 |
 |
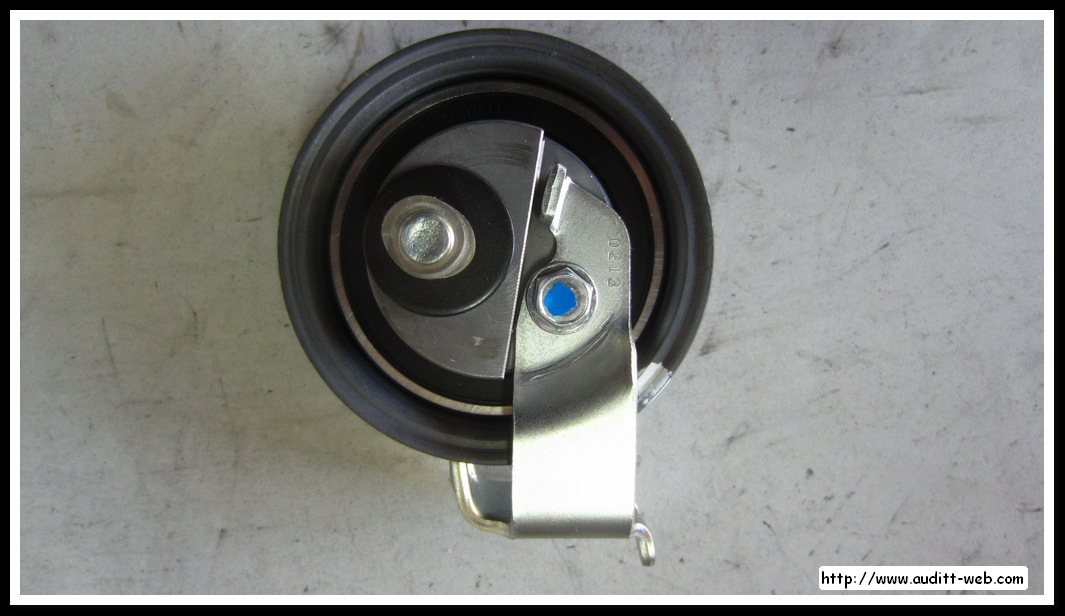
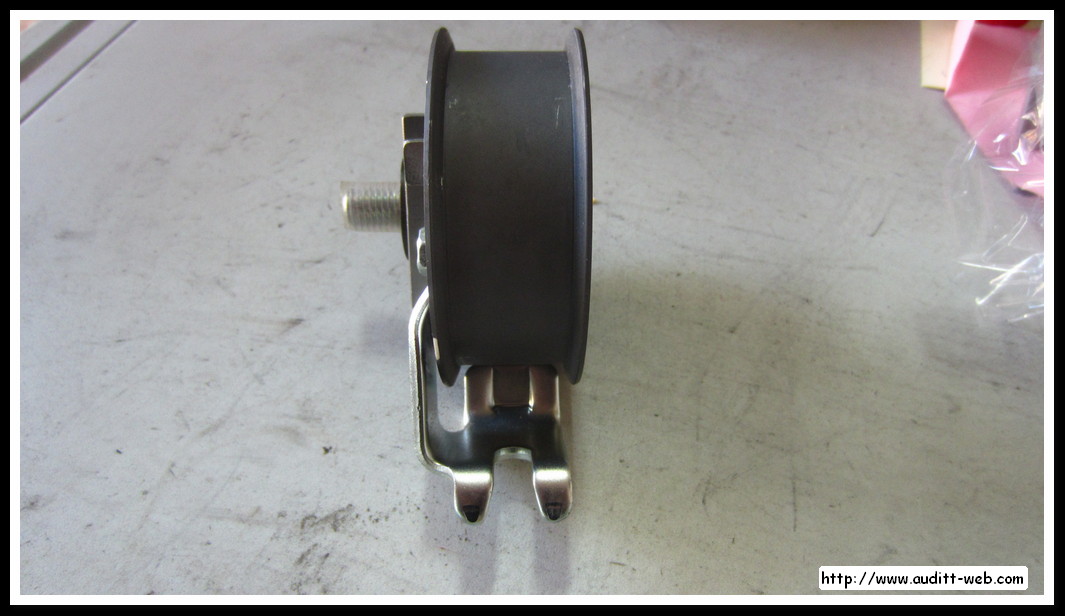
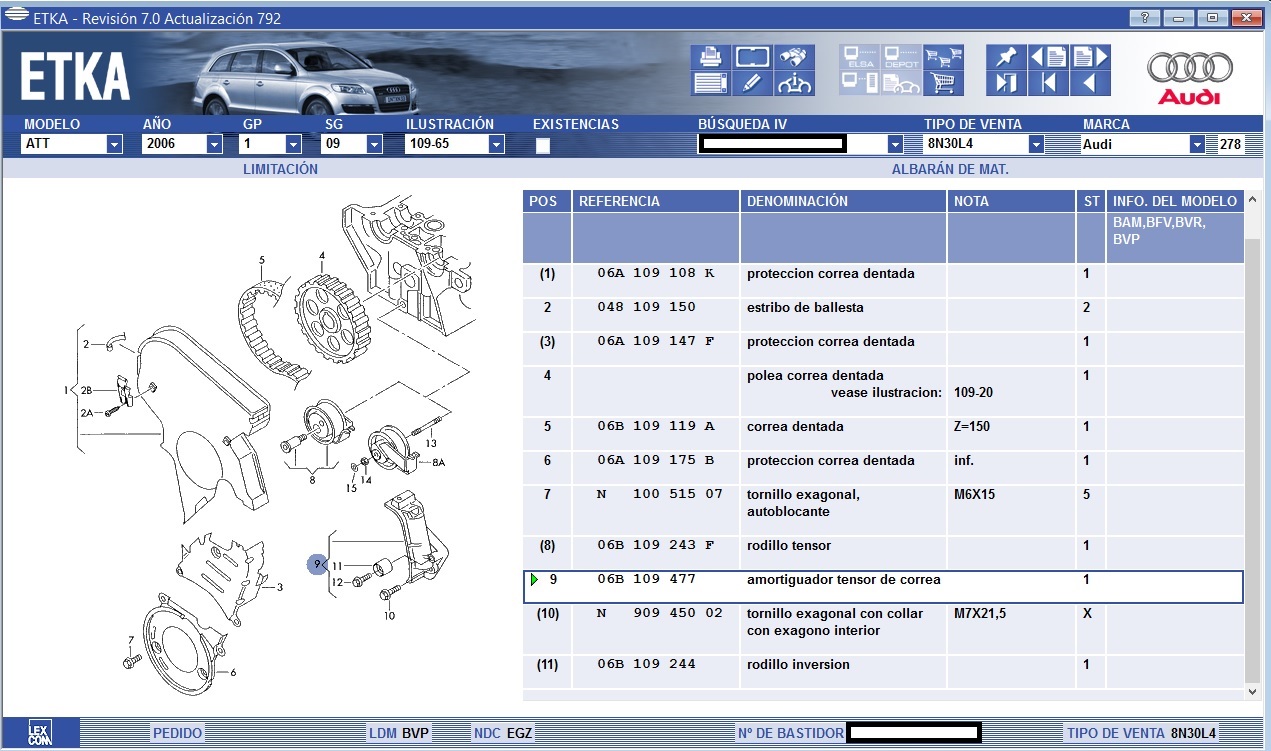
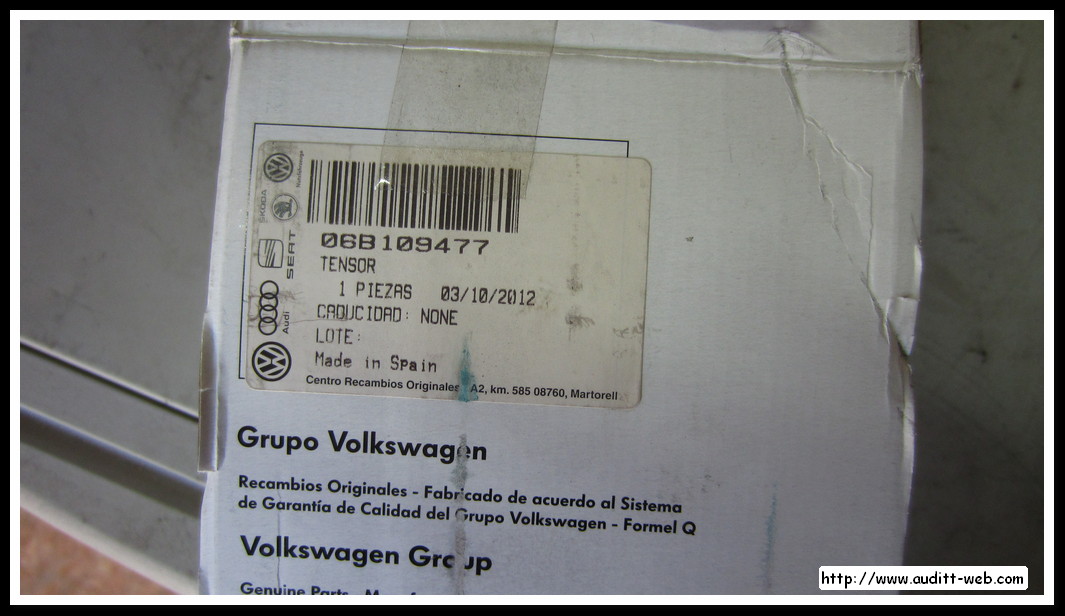
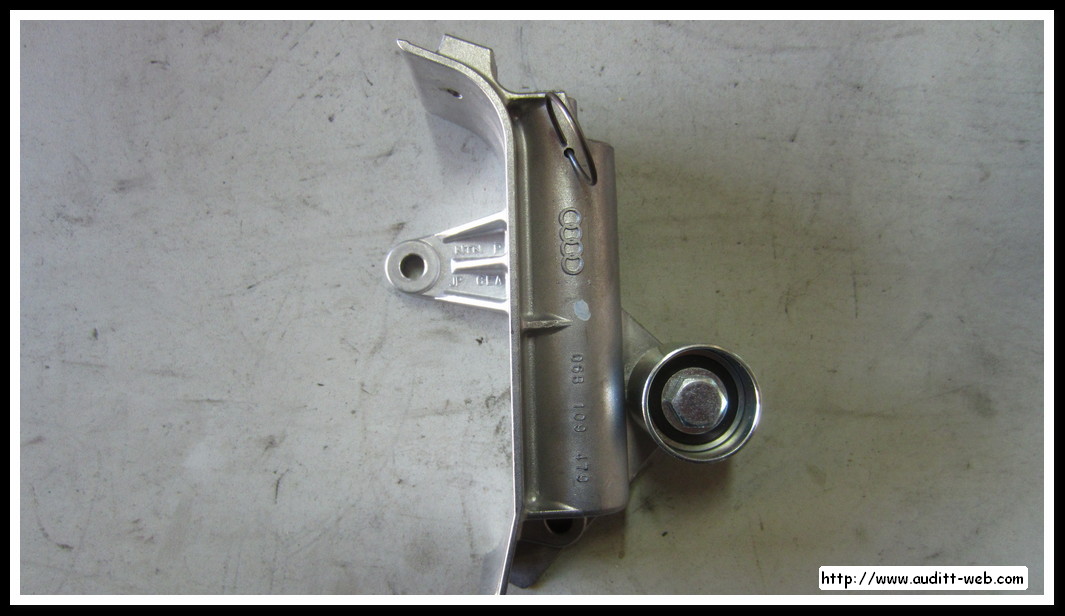
DISTRIBUTION HYDRAULIC TENSIONER BELT: 06B 109 477
 |
 |
 |
 |
 |
 |
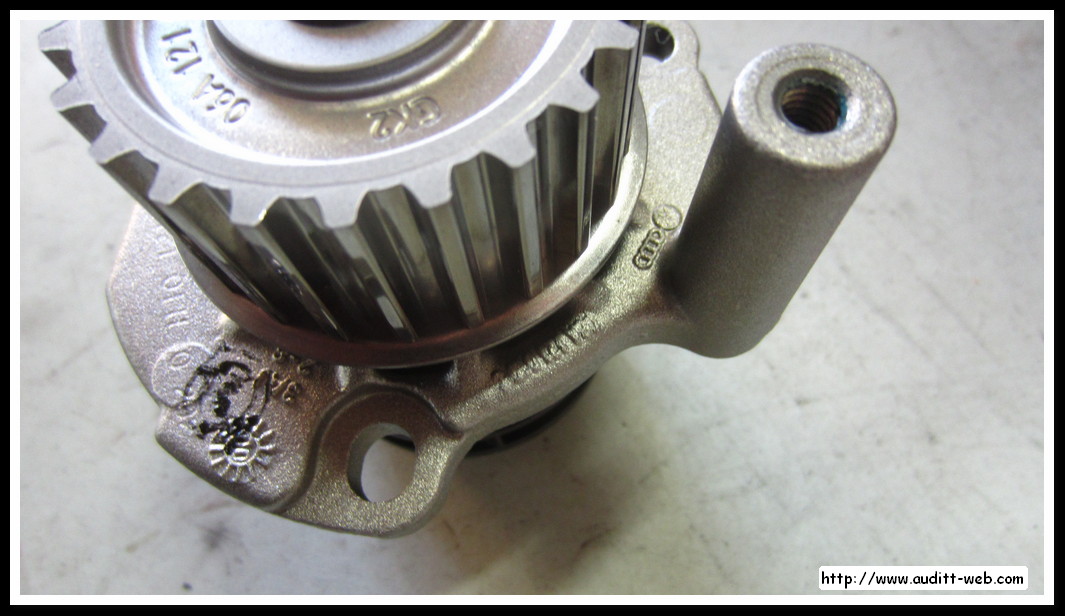
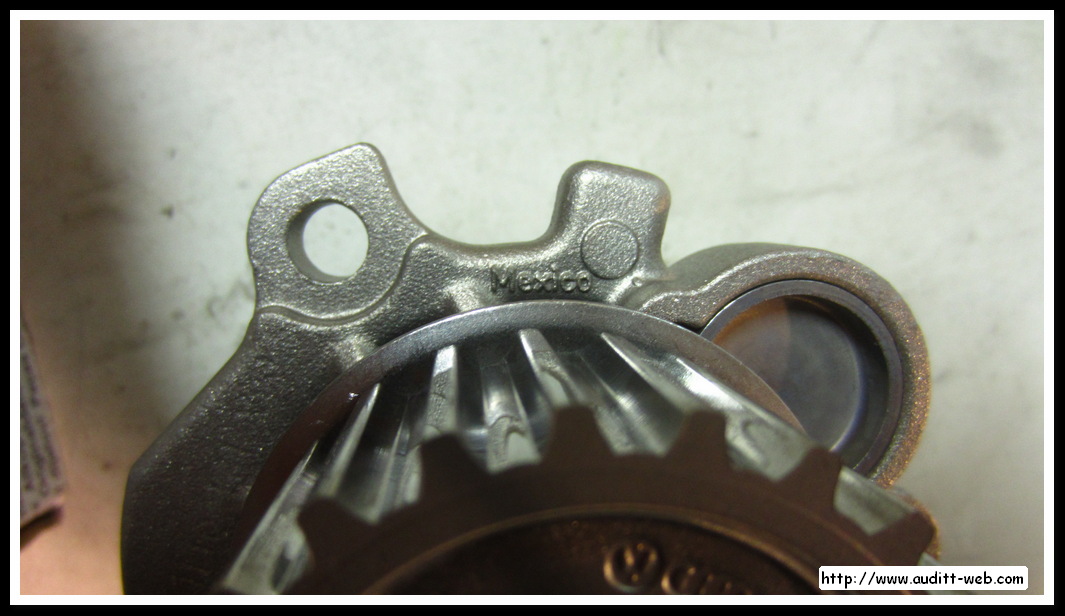
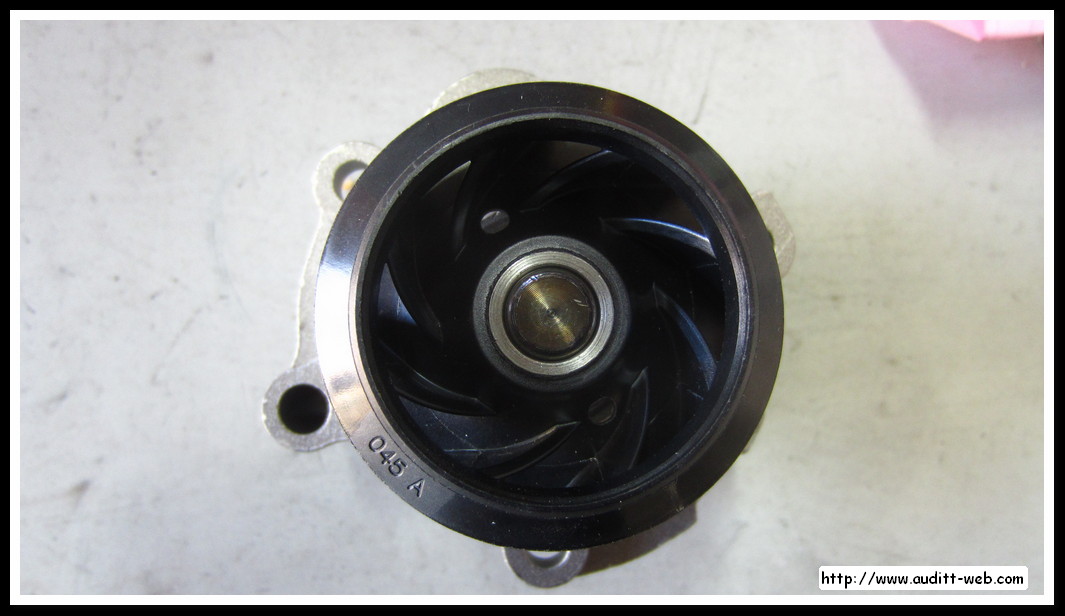
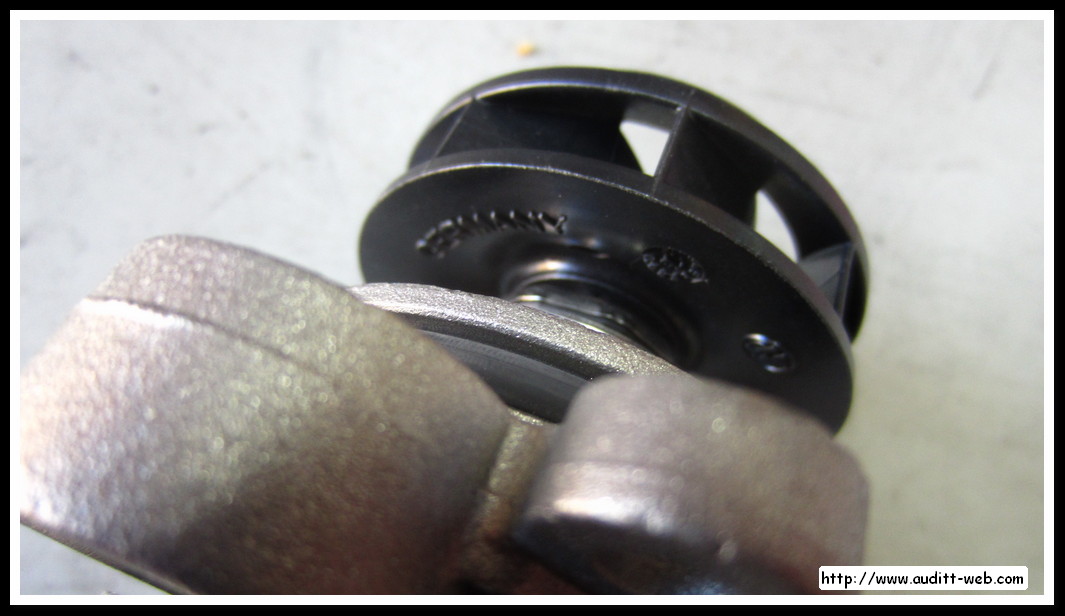
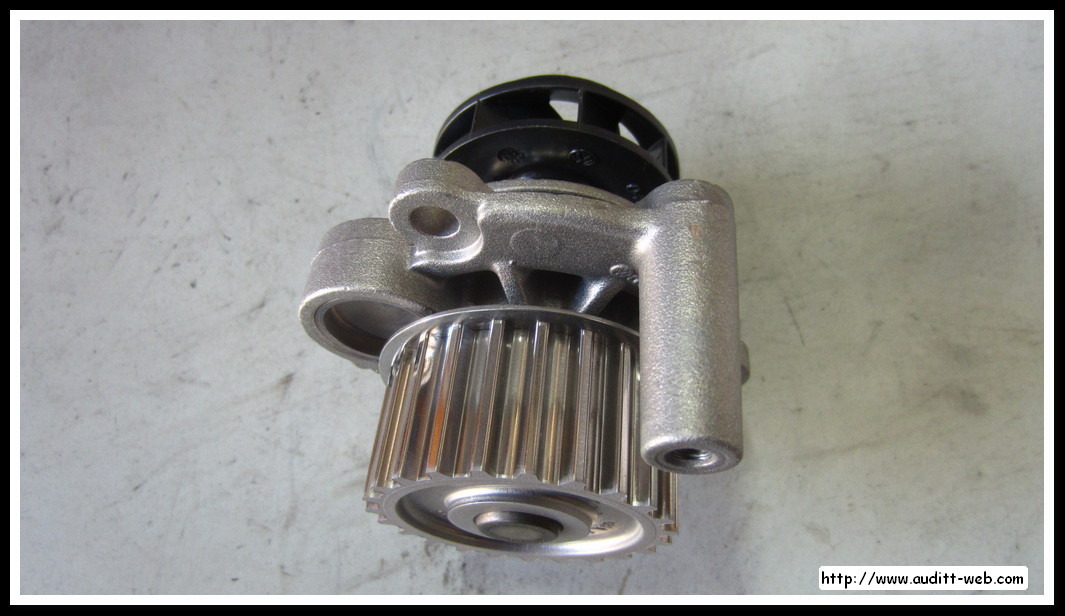
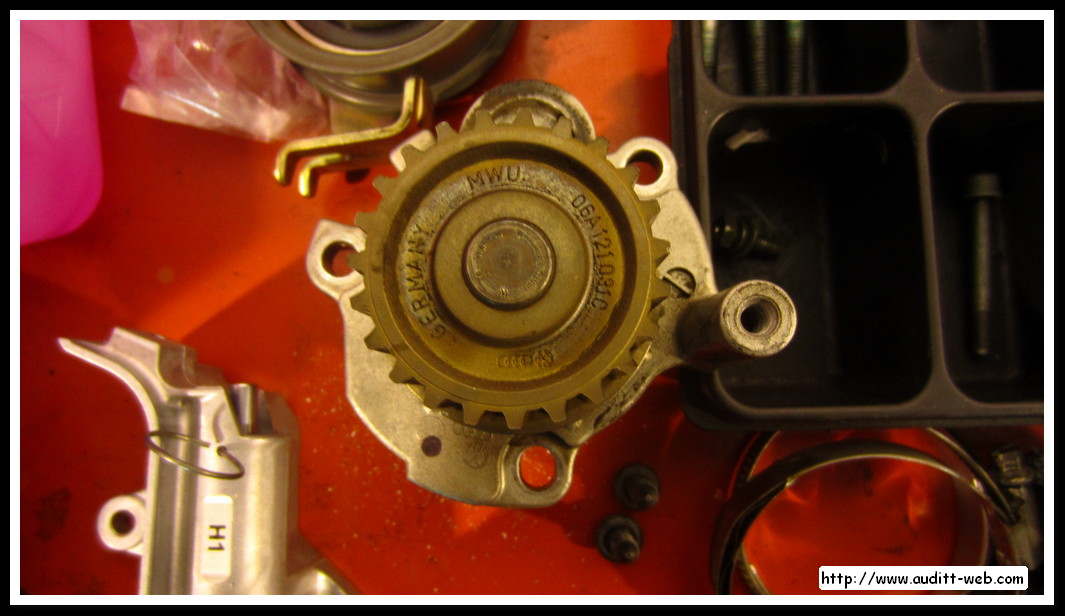
WATER PUMP: 06A 121 012 GX
 |
 |
 |
 |
 |
 |
 |
 |
 |
 |
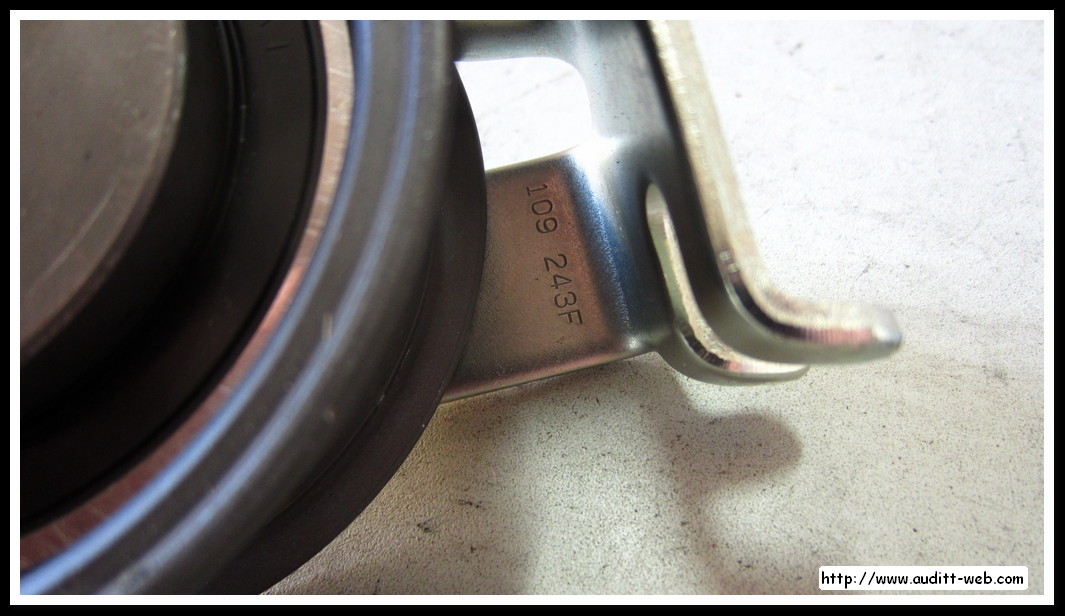
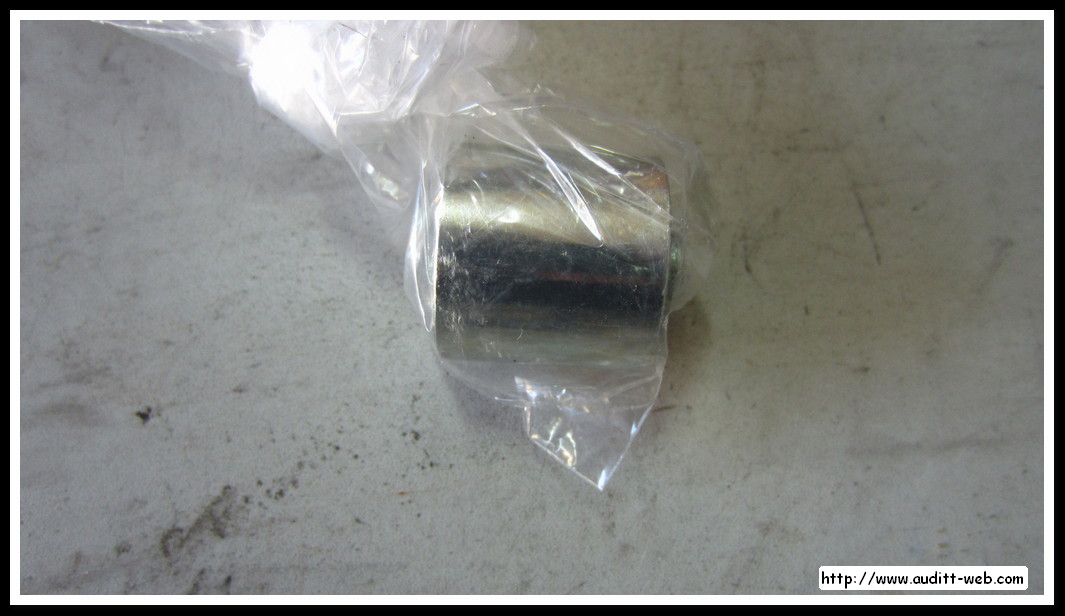
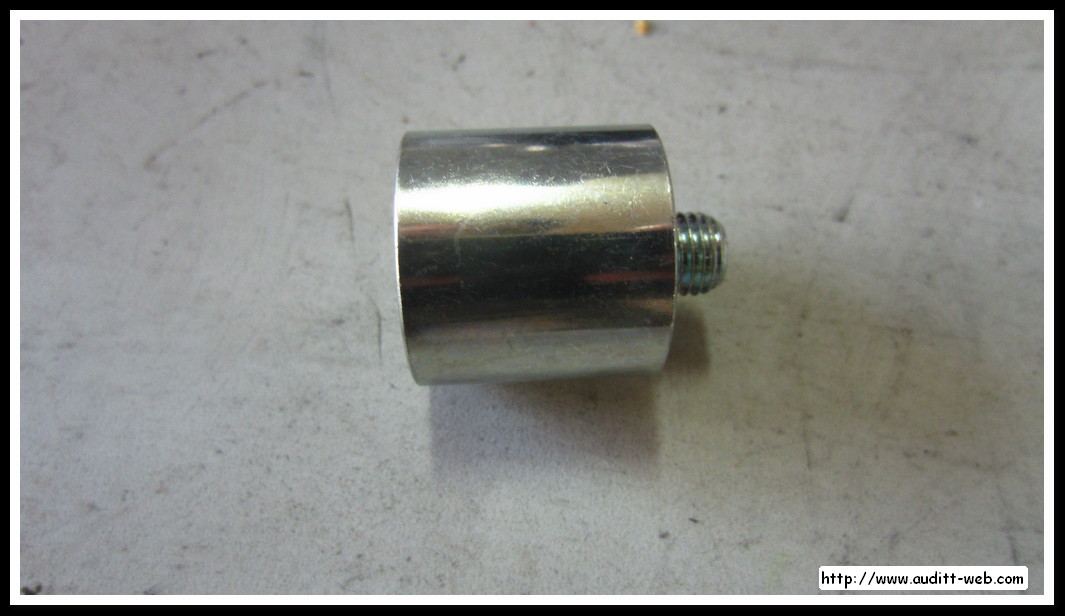
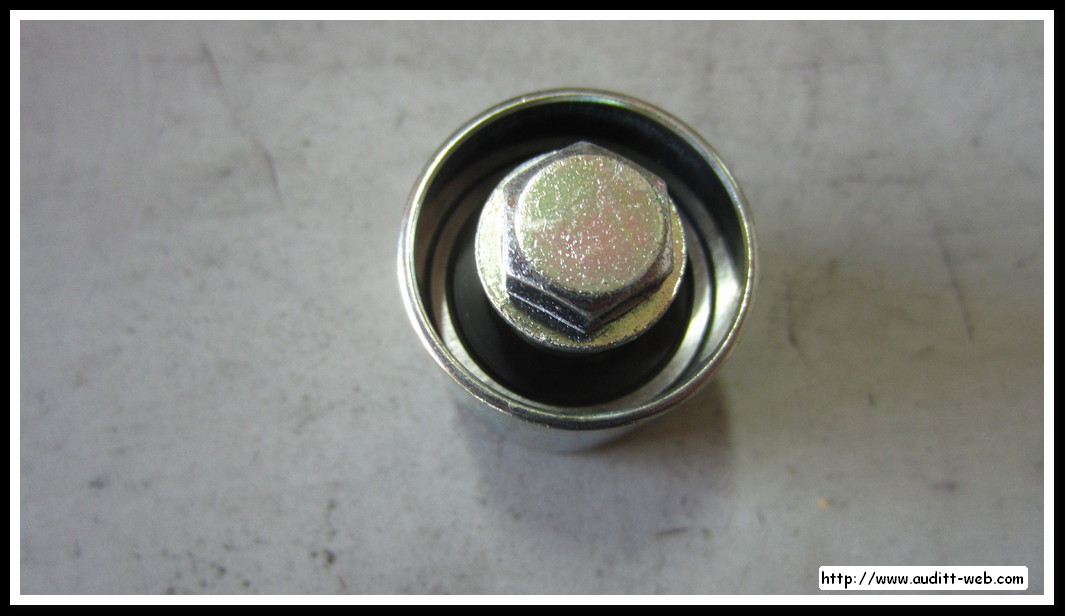
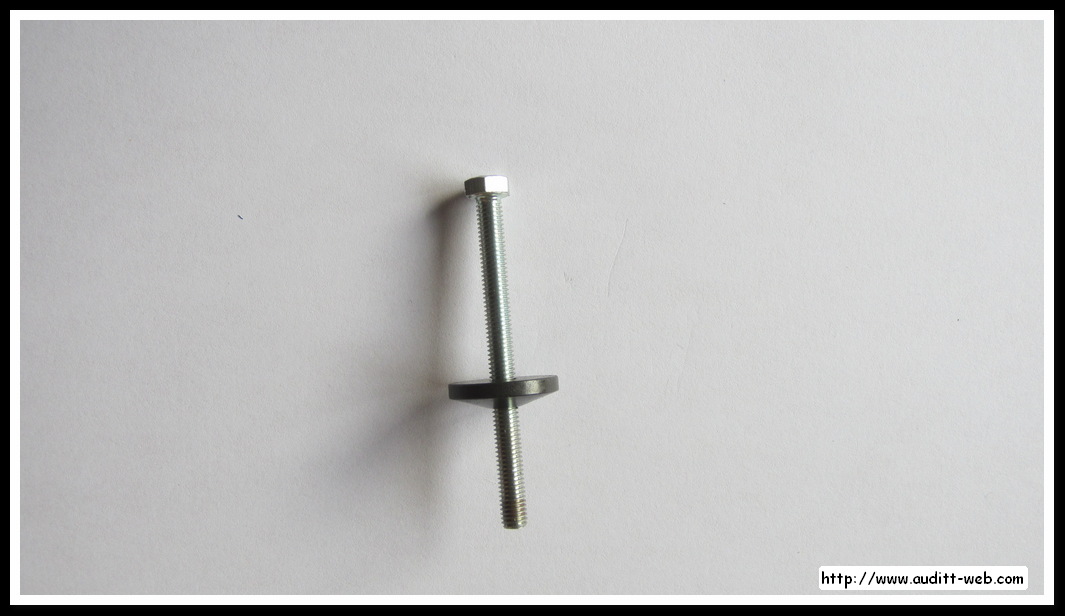
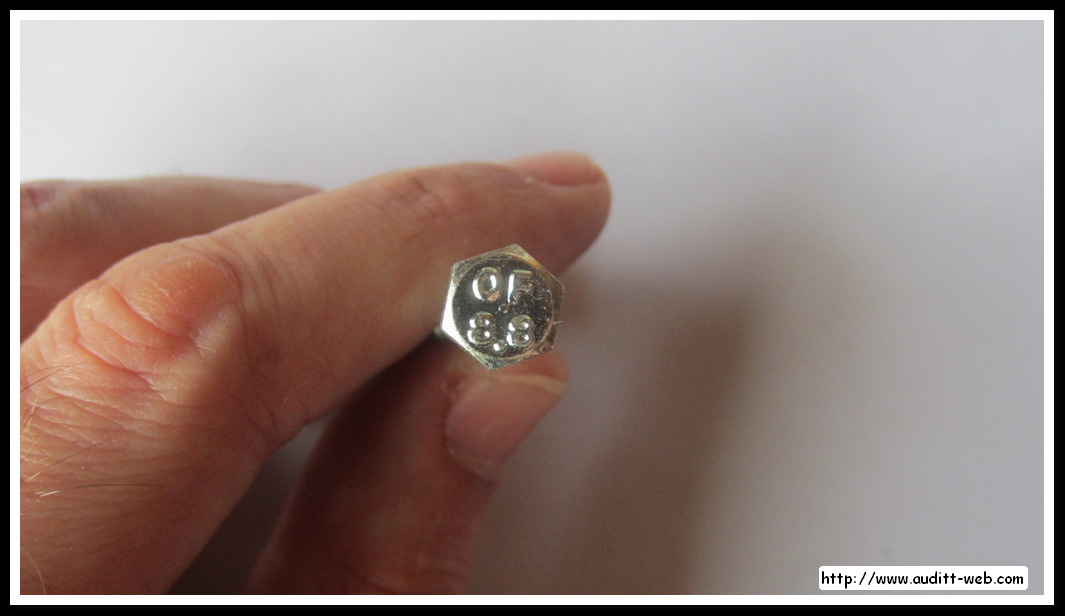
BOLT TO REMOVE TENSIONER PULLEY AND DISTRIBUTION: T10092
 |
 |
 |
 |
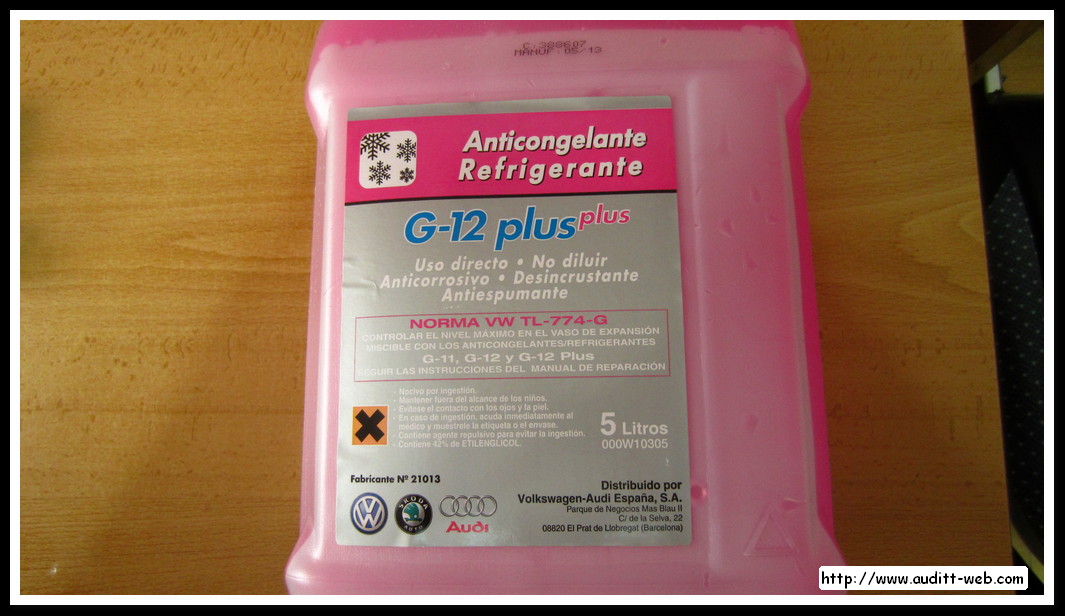
G12 PLUS PLUS COOLANT
 |
Most of these parts can be found on-line stores on the internet, such as : Oscaro
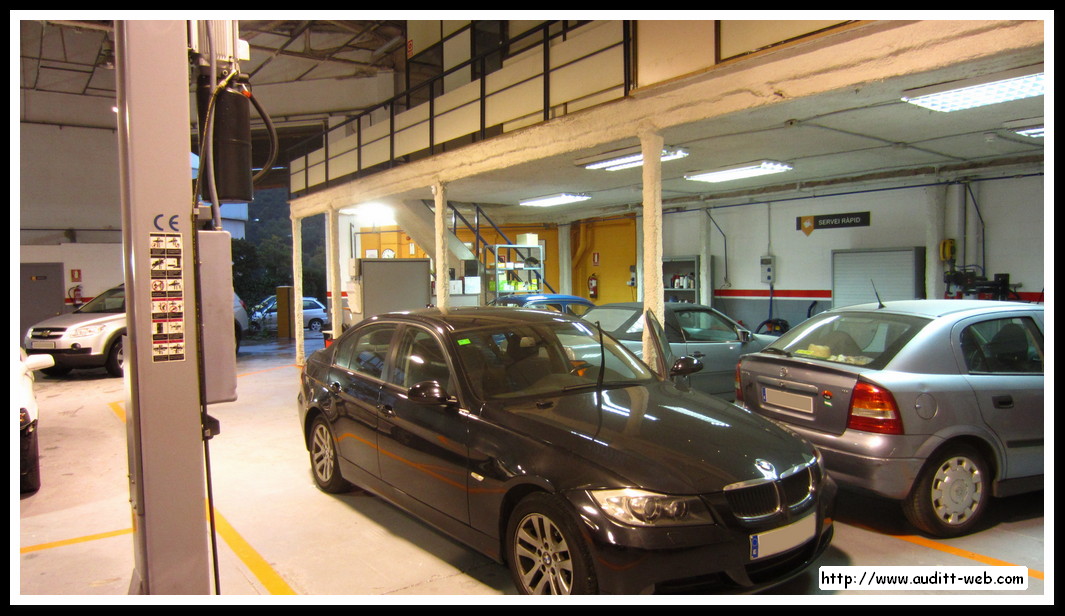
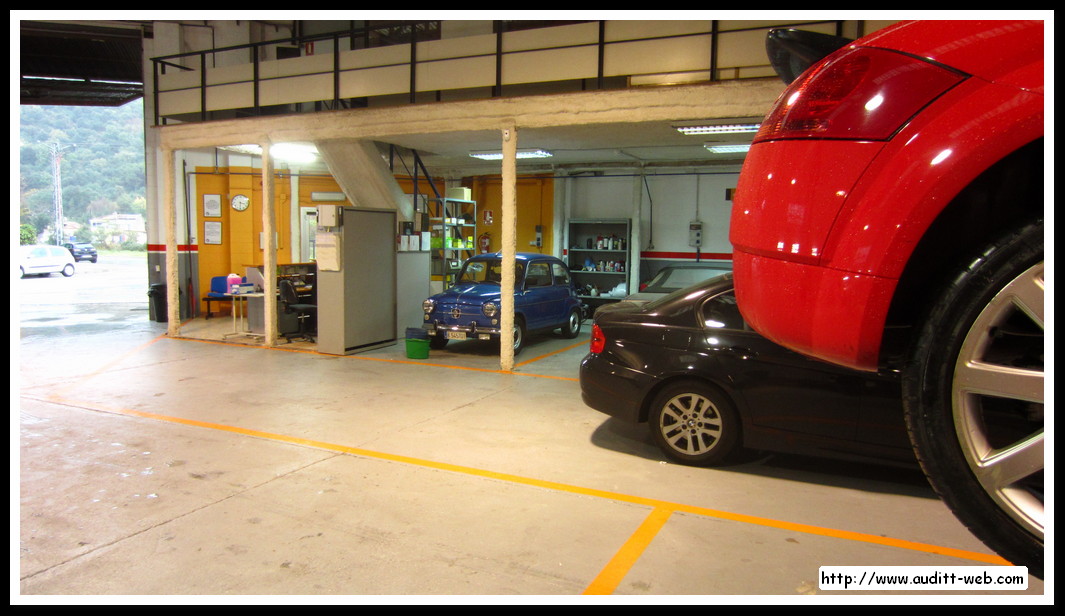
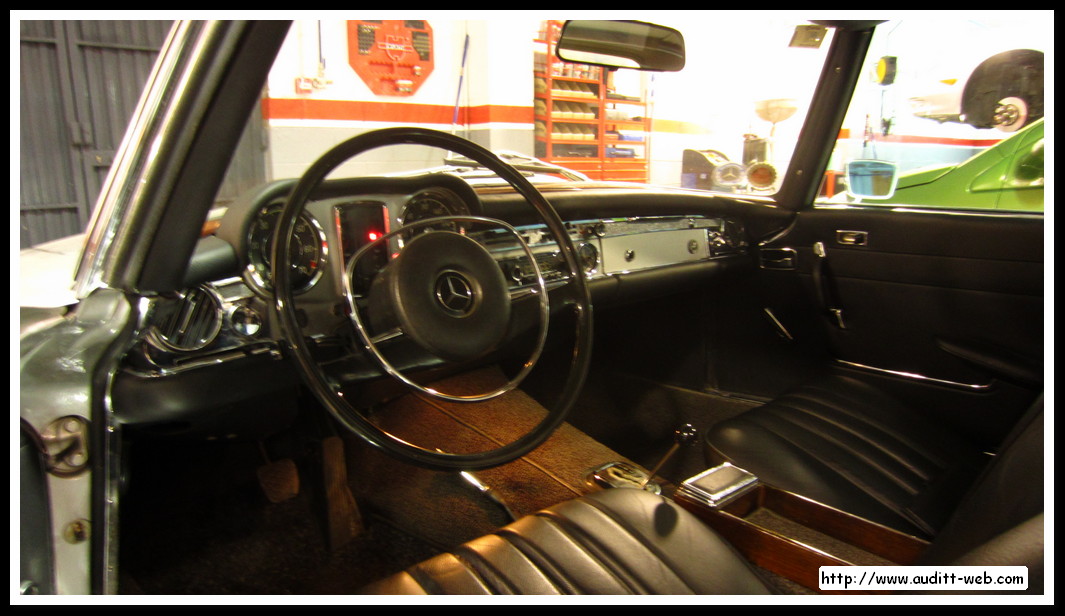
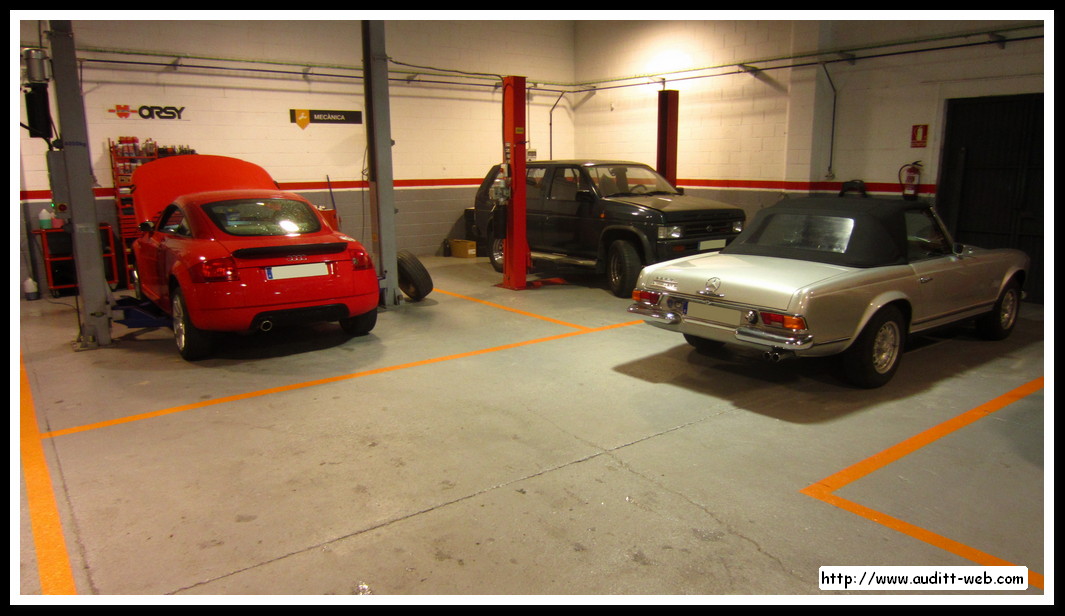
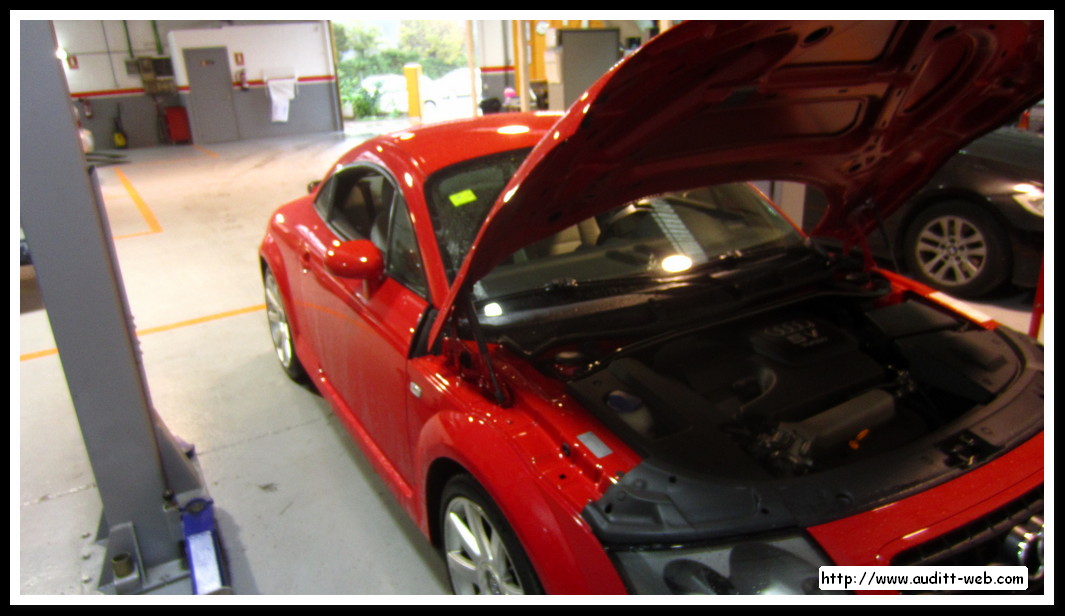
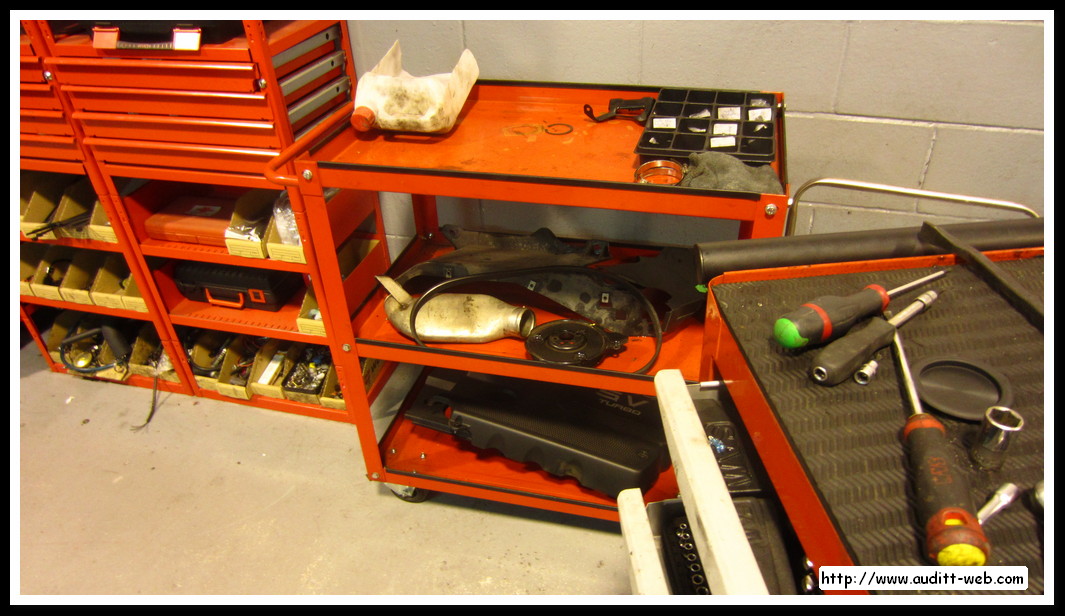
The operation was performed in Autotallers Asensi in Montcada i Reixac (Barcelona). Below you can see some pictures of the workshop, where the day he performed the operation was a Mercedes "Pagoda" (a classic with a capital) through a review and also a Seat 600 in state competition.
 |
 |
 |
 |
 |
 |
 |
|
PROCEDURE
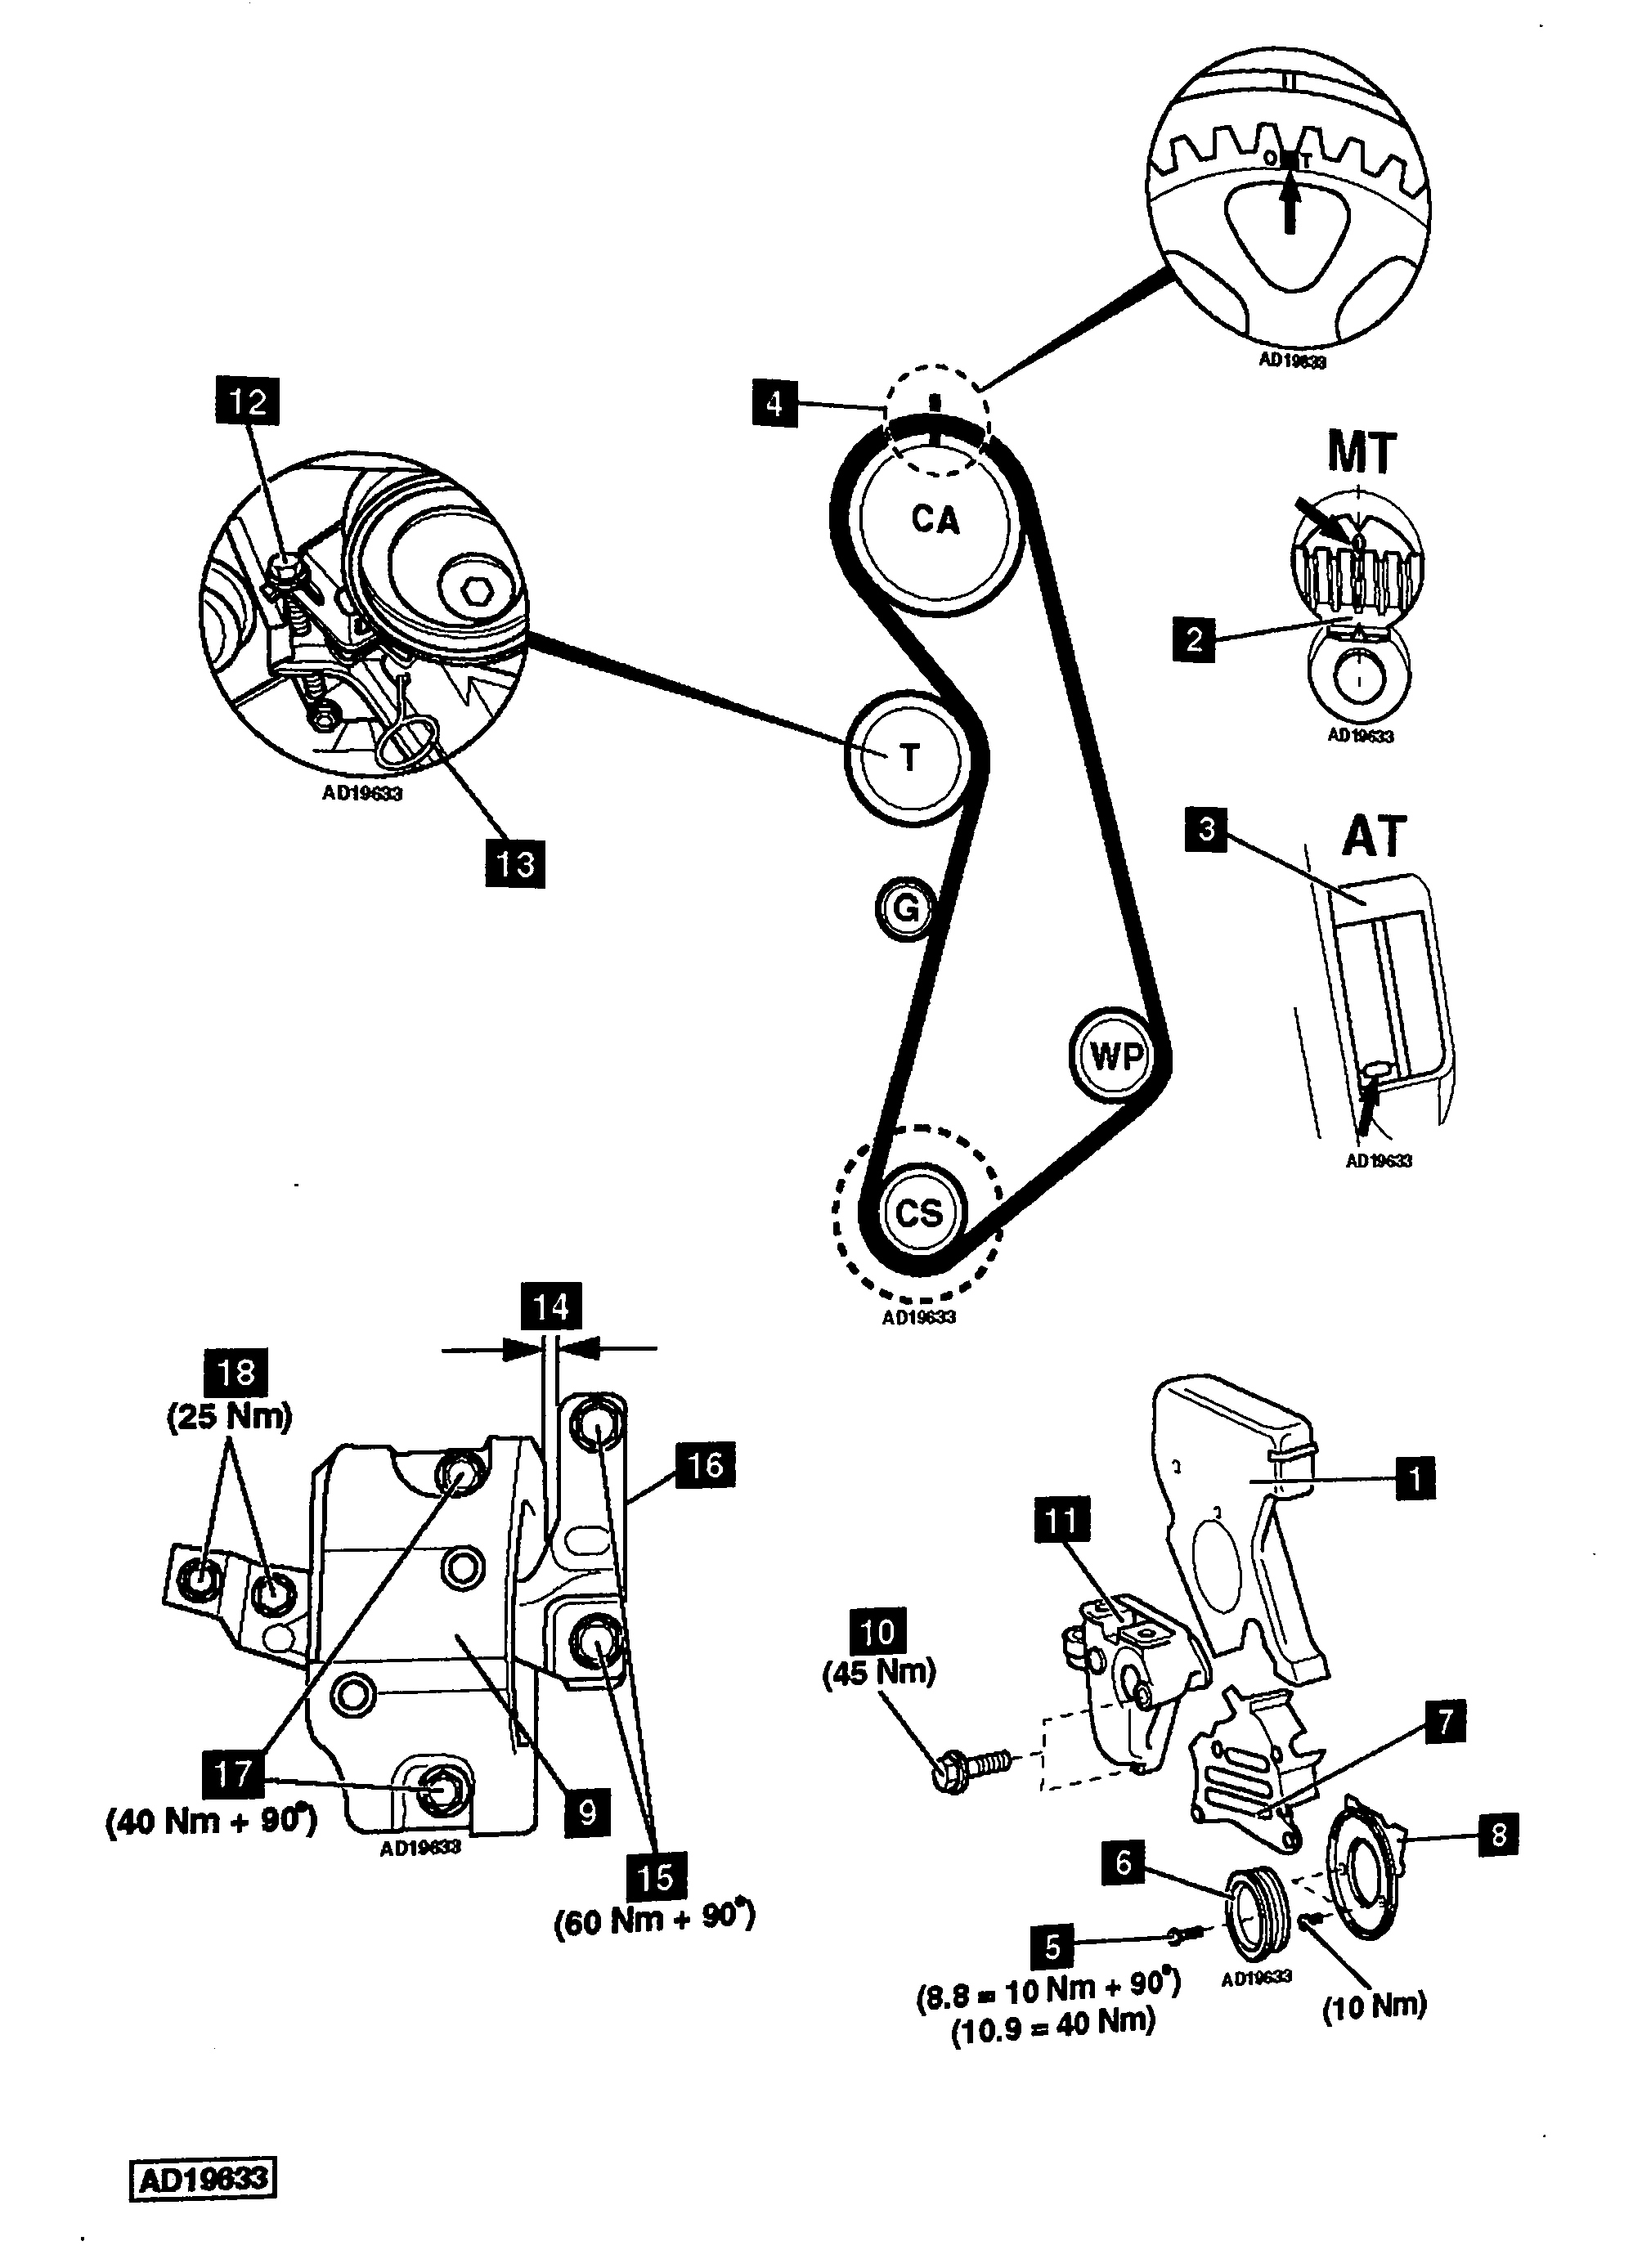
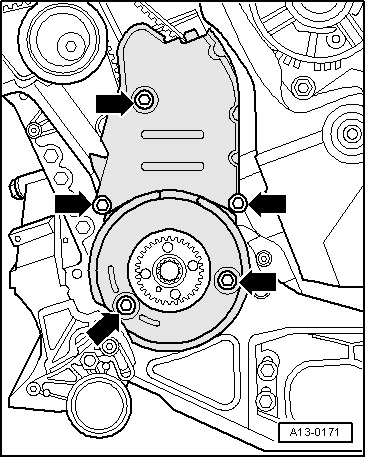
As background information, we can see some patterns of distribution.
 |
 |
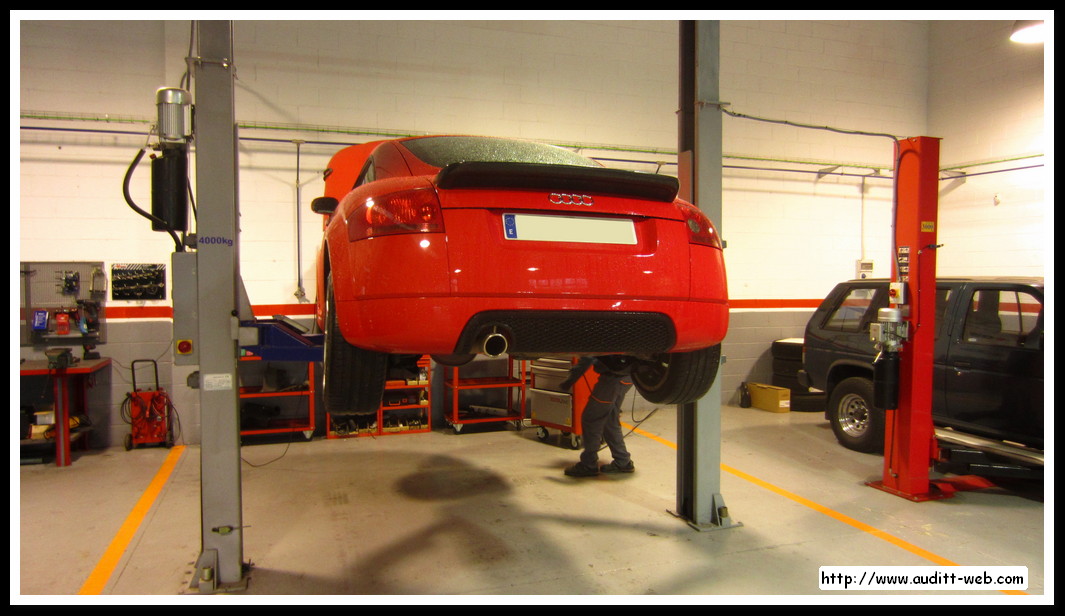
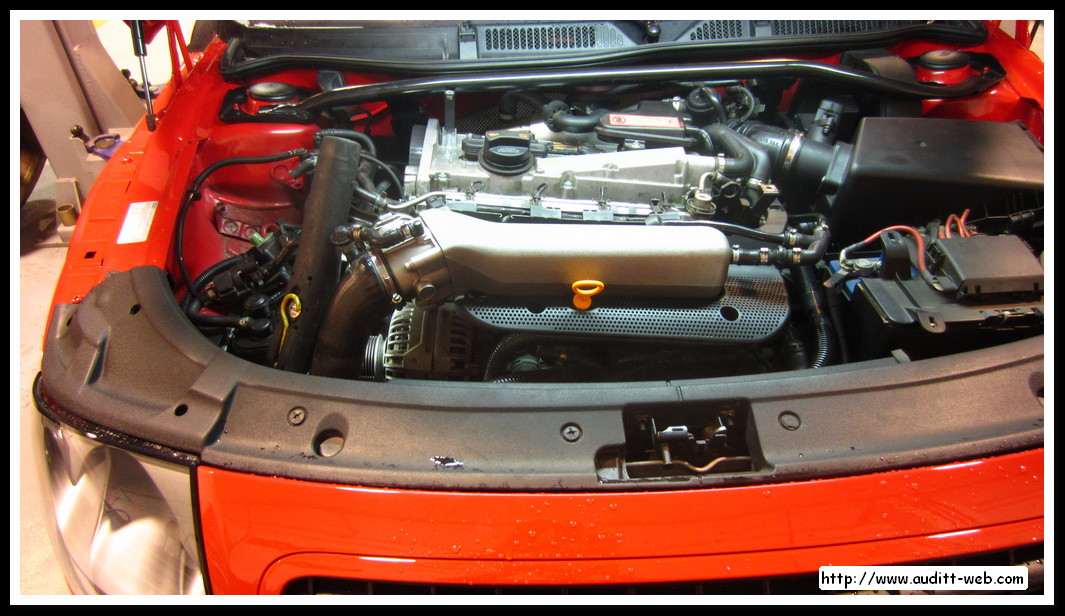
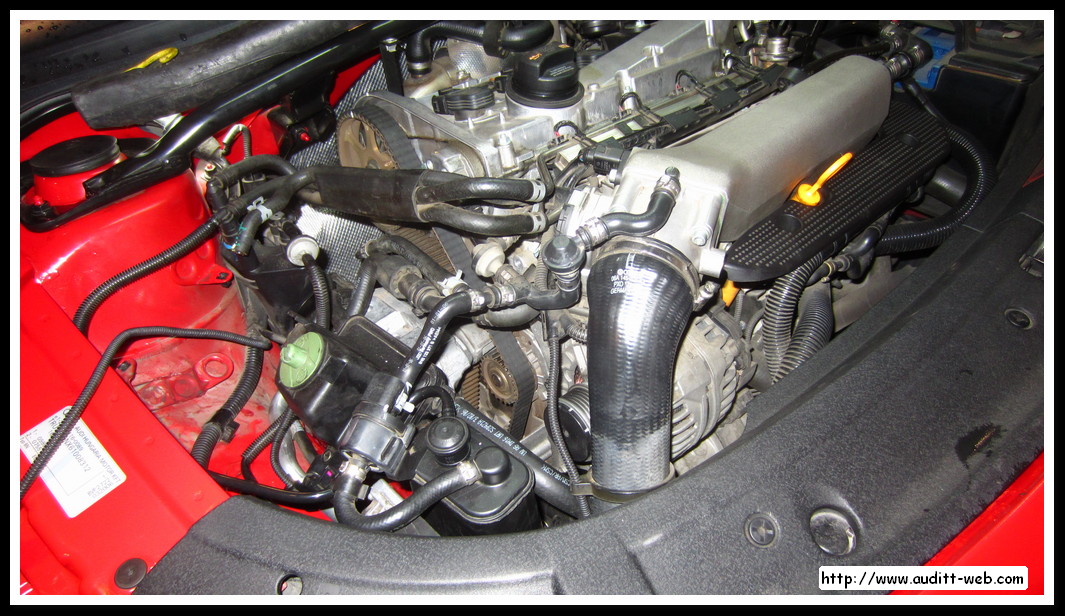
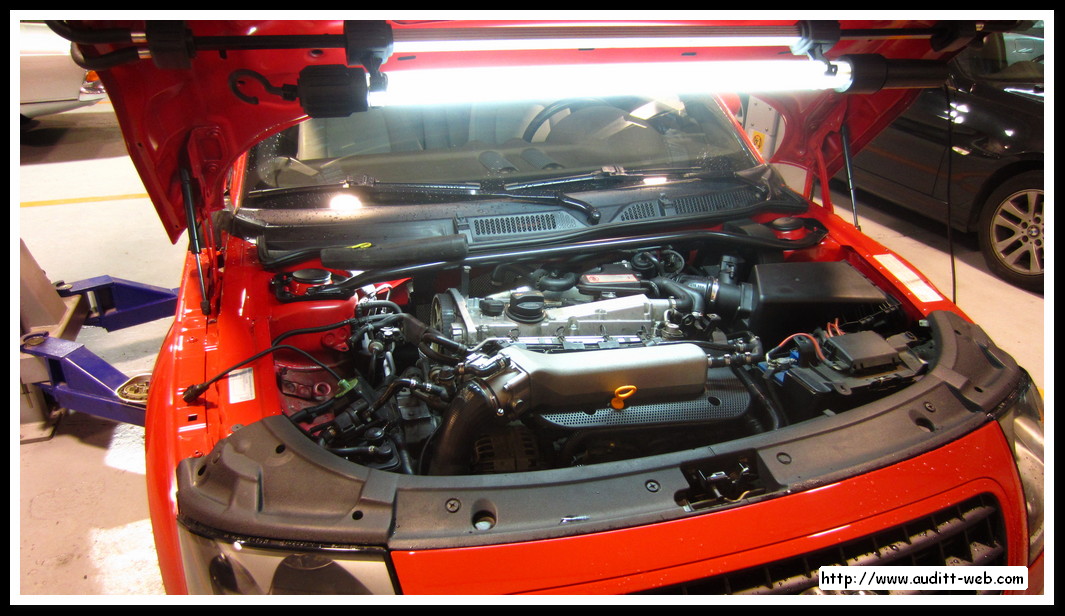
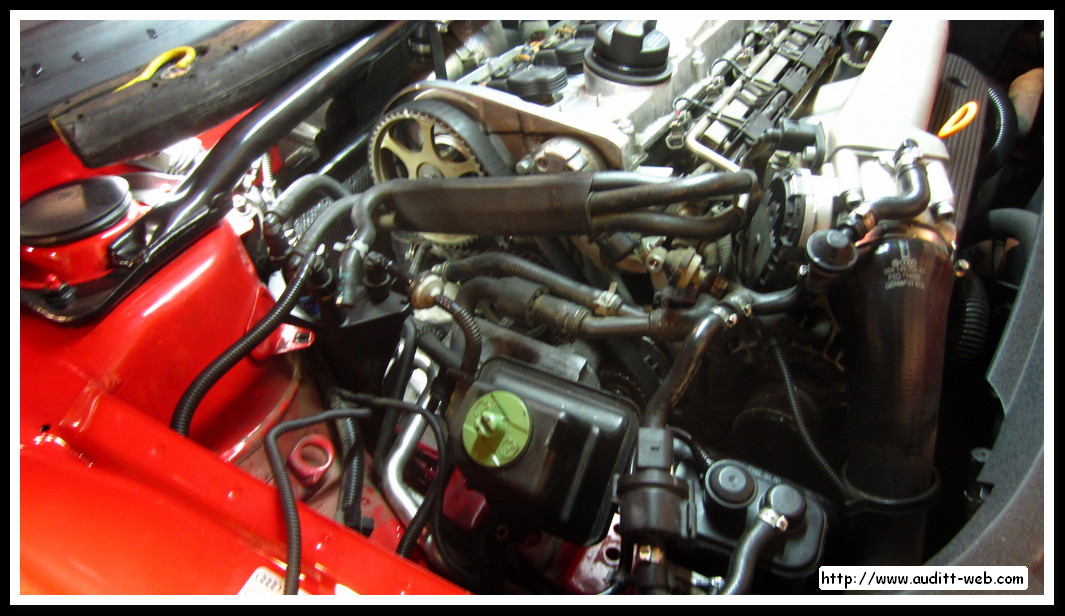
Once located the car in the workplace, proceed to remove the top center protector, protective upper side and the top of the timing belt.
 |
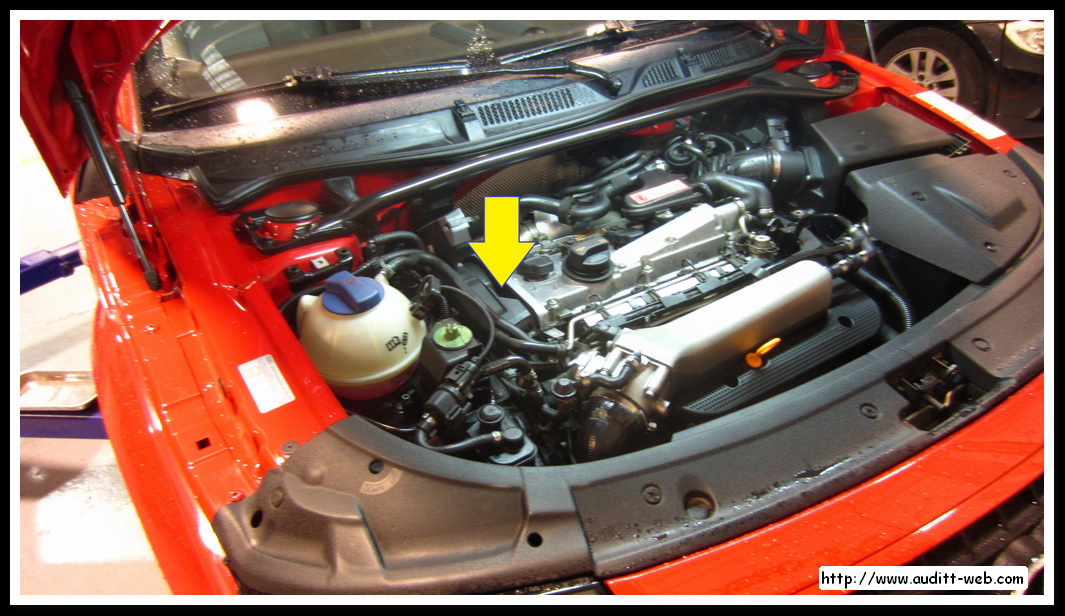 |
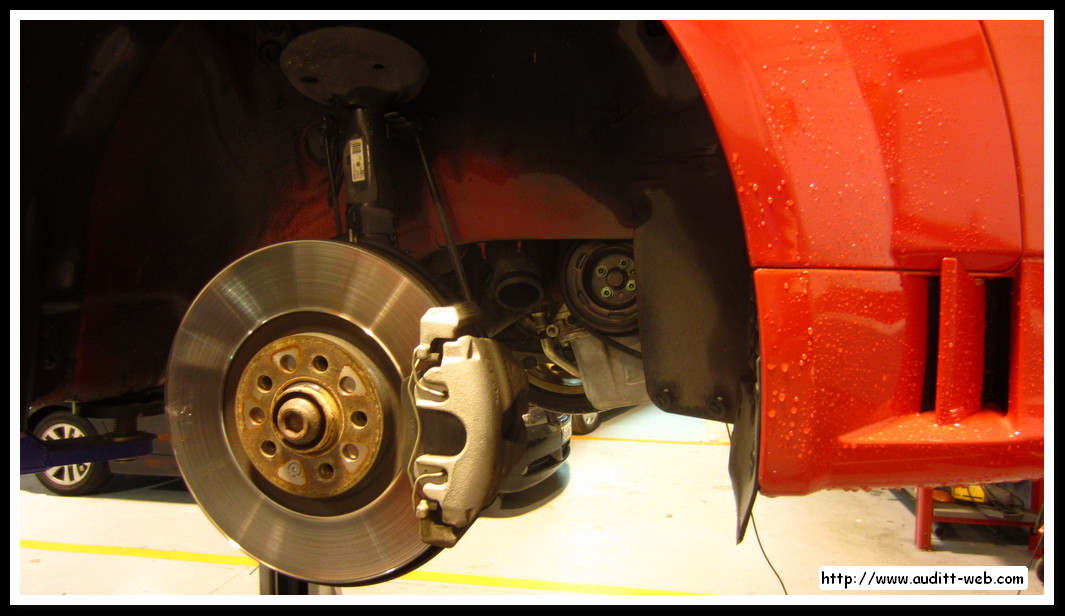
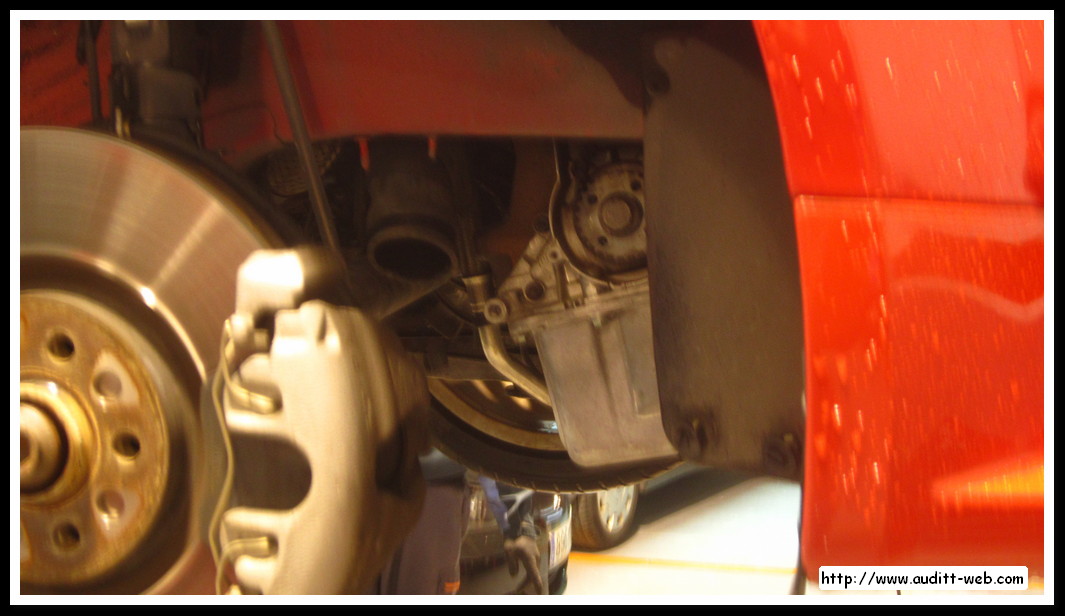
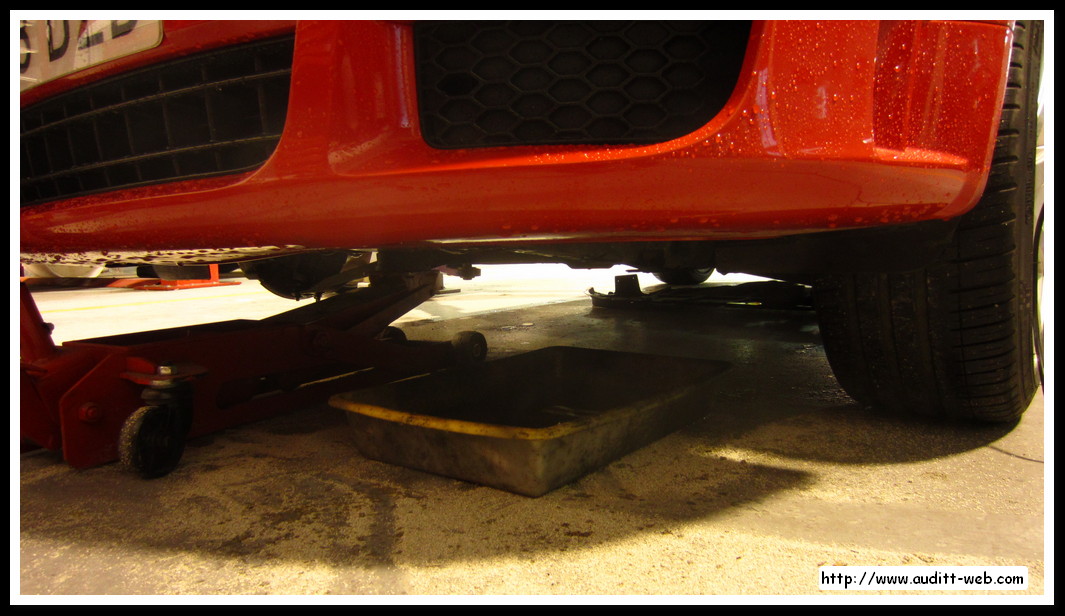
We raise the car and dismantle the right wheel, the lower engine guard, guard and lower side intercooler tube.
 |
 |
We stress tensor Poly-V belt and put a bit into the hole to lock it. We take the Poly-V belt and dismantle the adjuster (3 screws).
 |
 |
 |
 |
Dismantle the pulley and the crank case.
 |
|
 |
 |
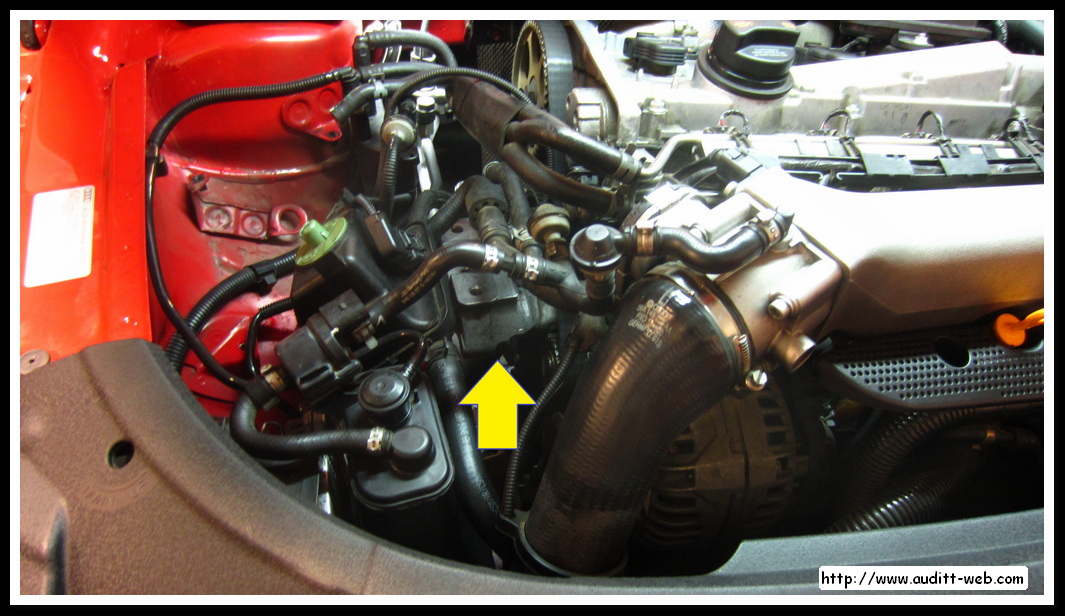
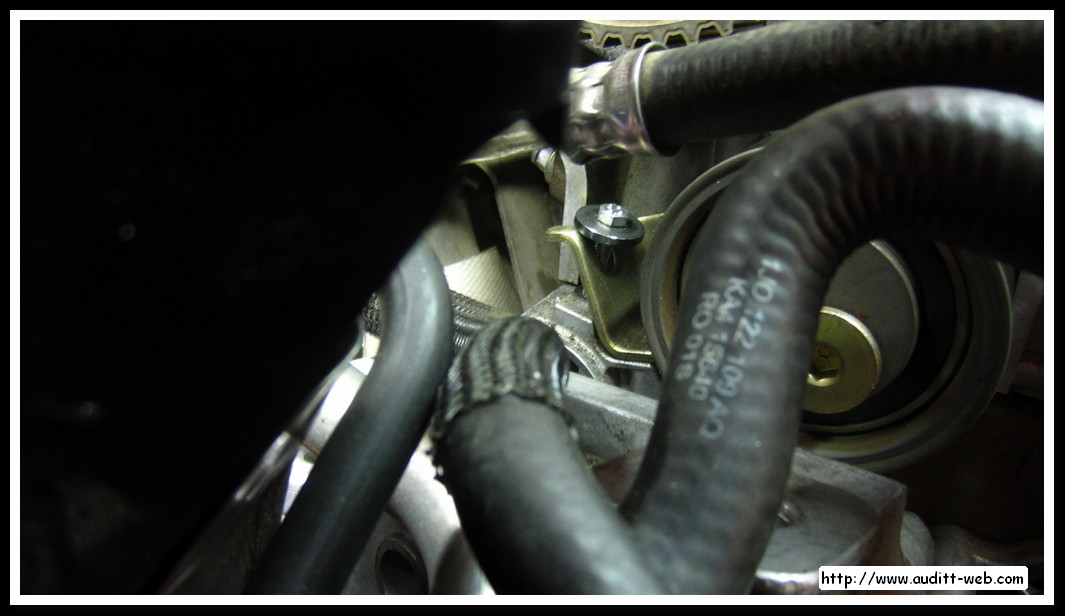
Disconnect the battery, drained the coolant from the lower tap driver side, and we hold the engine with a jack to remove the left side engine silemblock.
 |
 |
 |
|
To remove the engine silemblock, dismantle the coolant reservoir and unscrew on the fluid reservoir power steering to work better.
 |
 |
Dismantle the engine silemblock (play around with the height of the engine with the jack).
 |
|
 |
 |
 |
 |
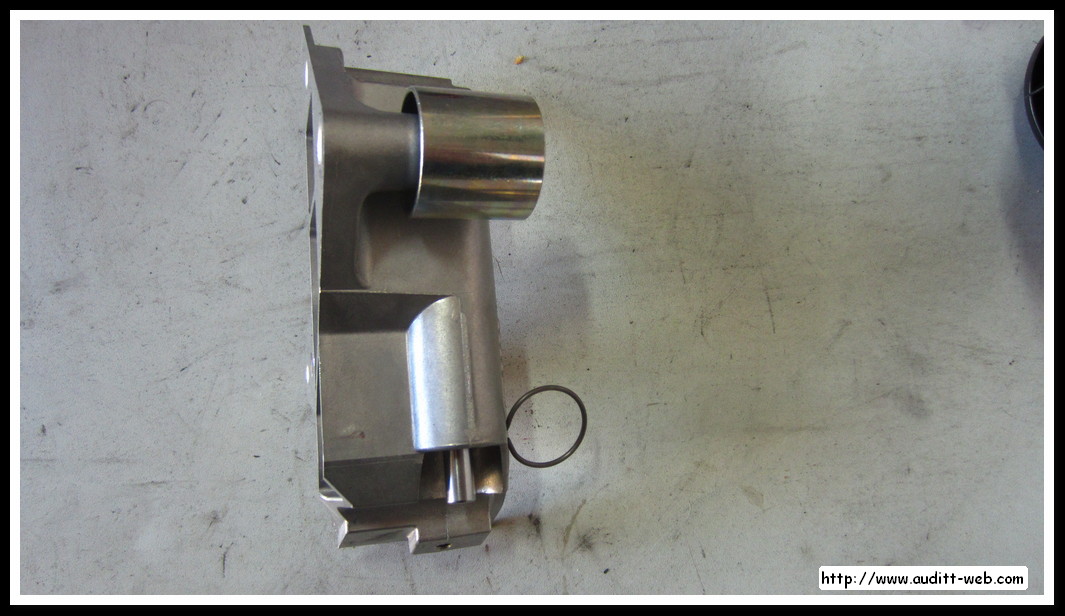
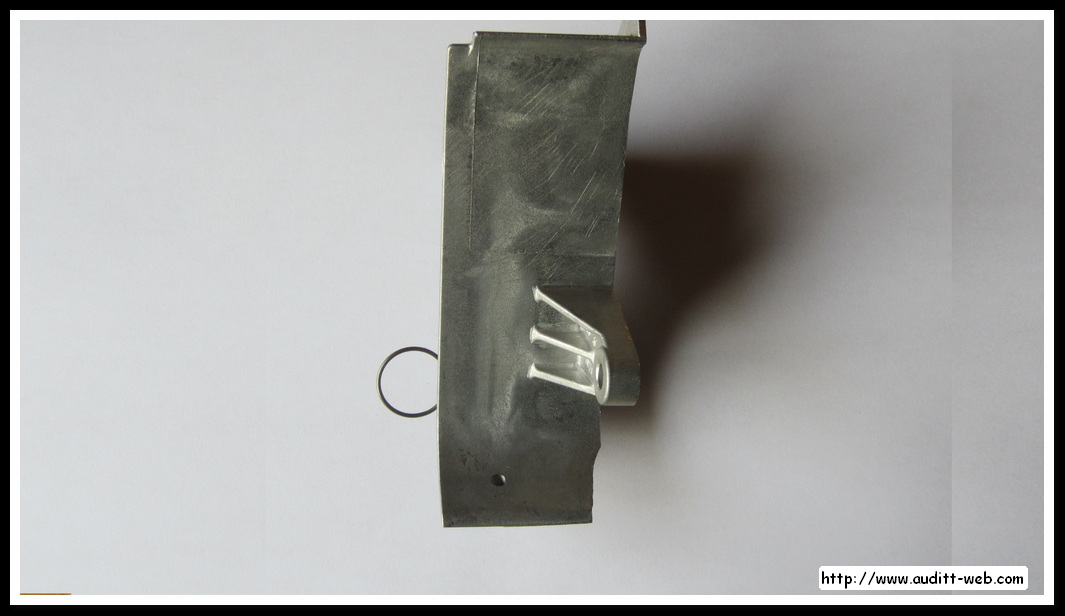
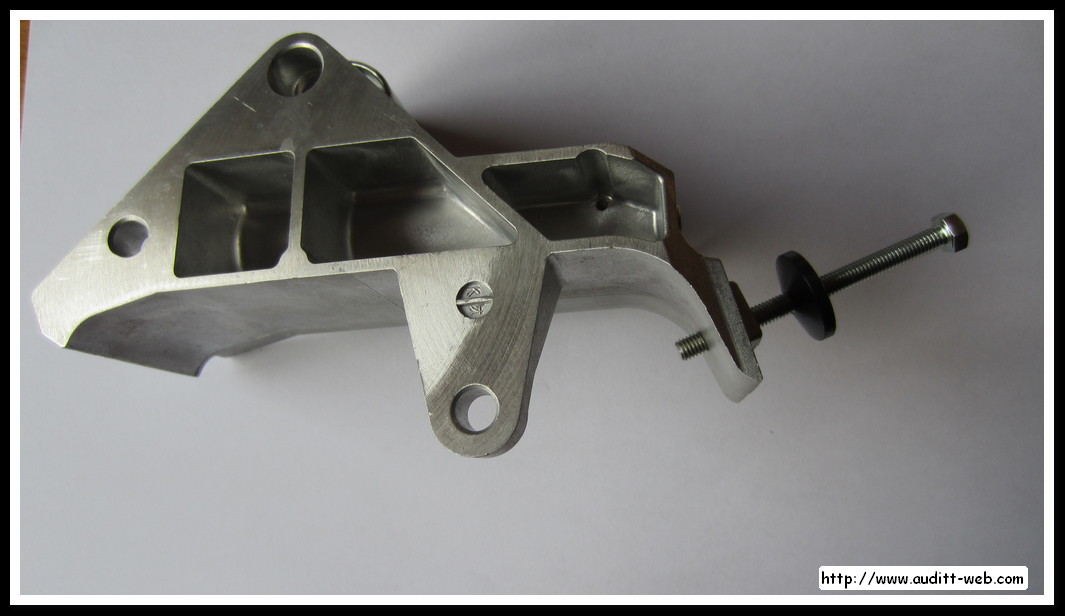
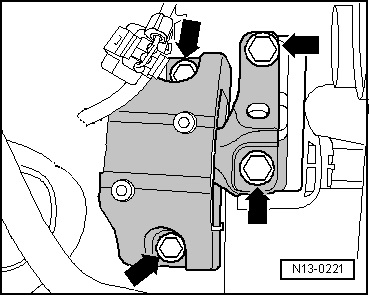
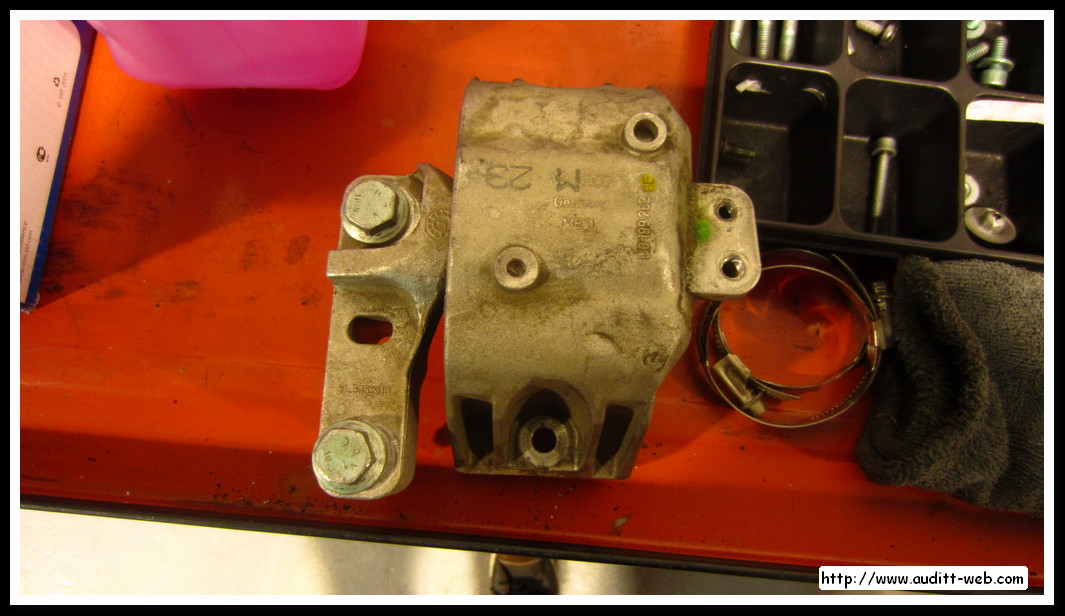
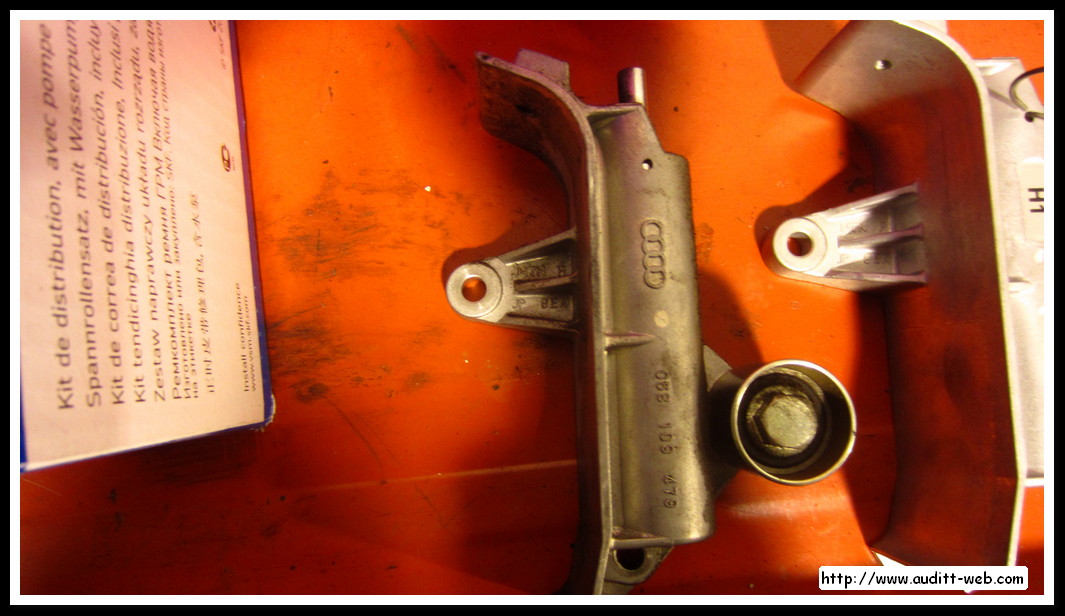
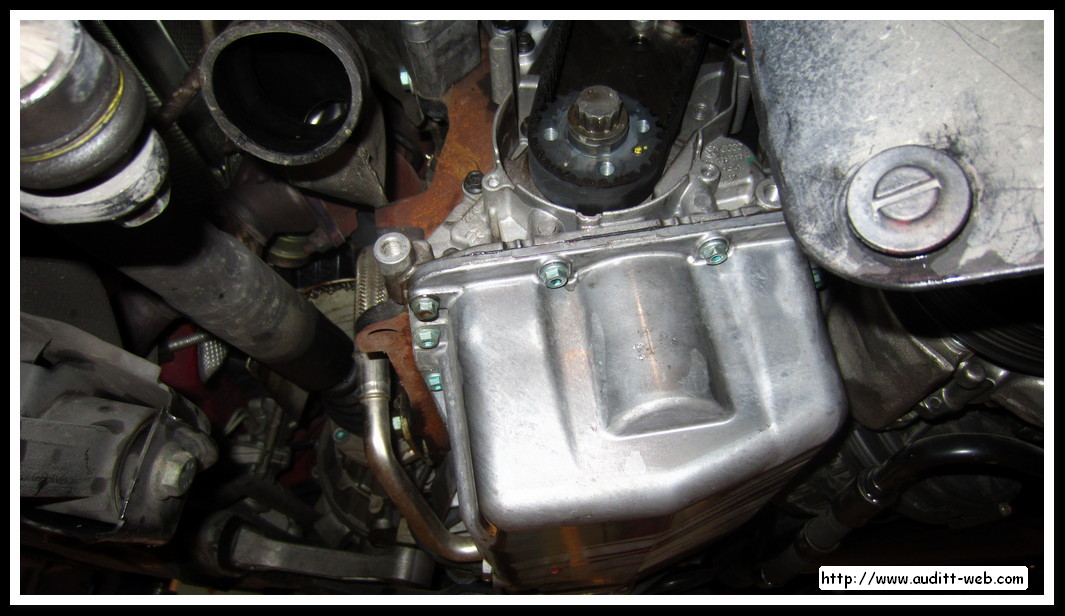
Release the motor bracket (3 screws). The support can not be removed from the engine, it will move only slightly to remove and replace the timing belt and other components to replace.
 |
|
 |
 |
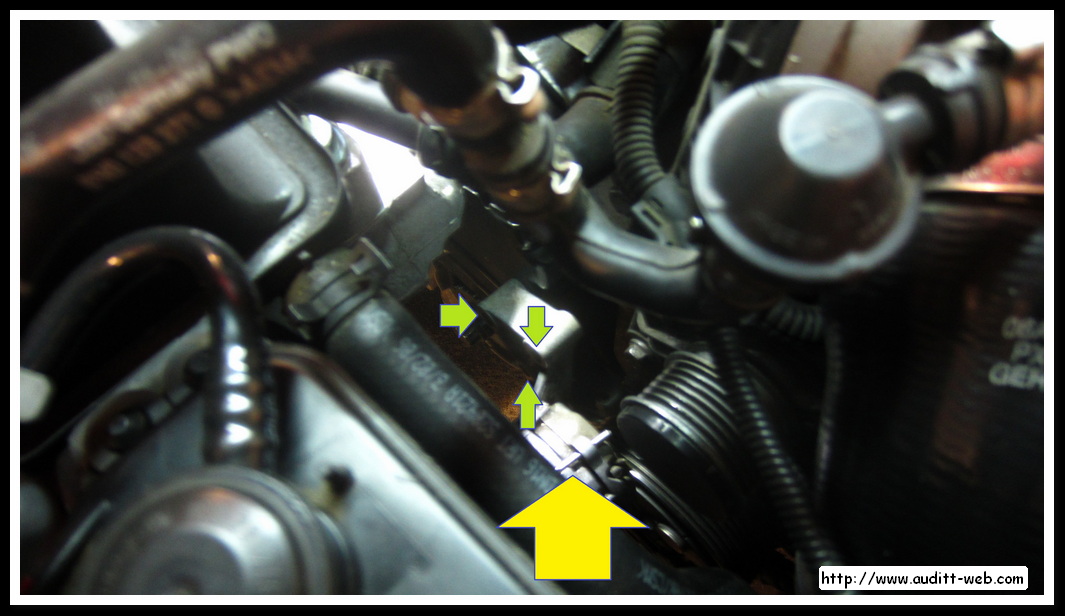
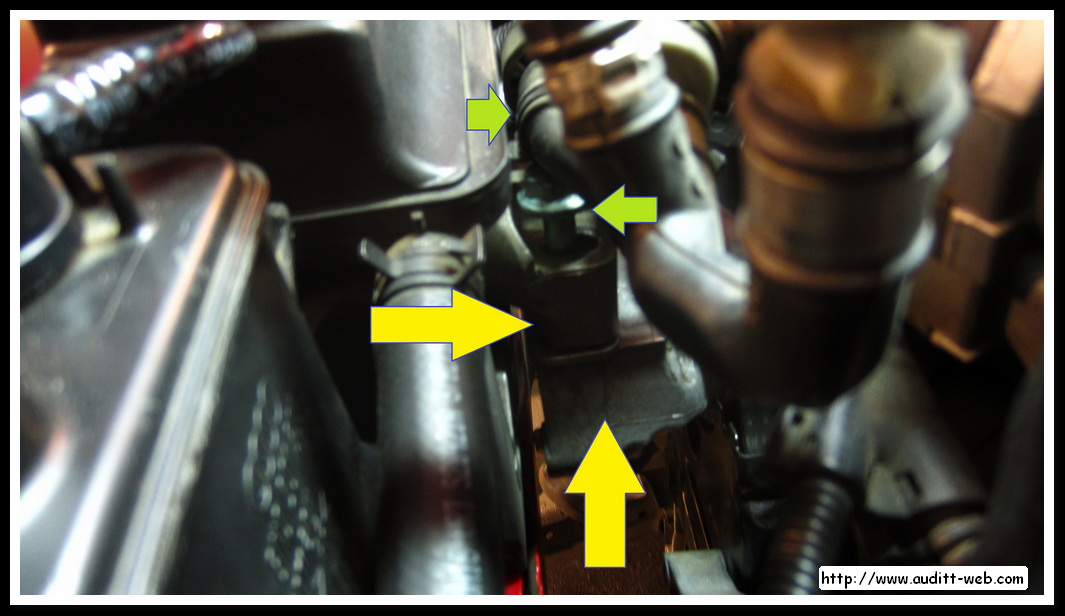
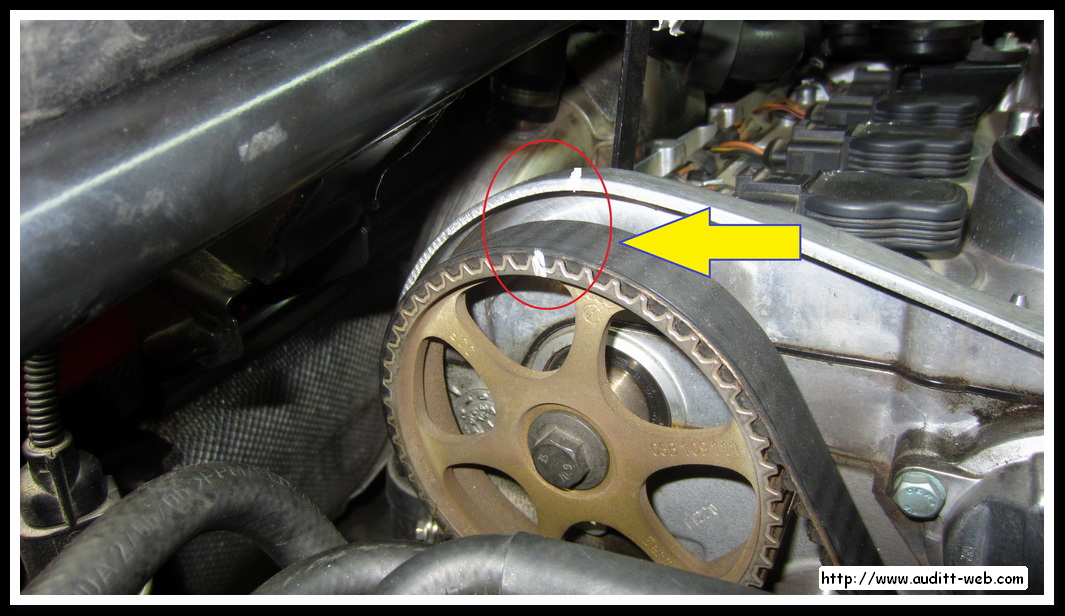
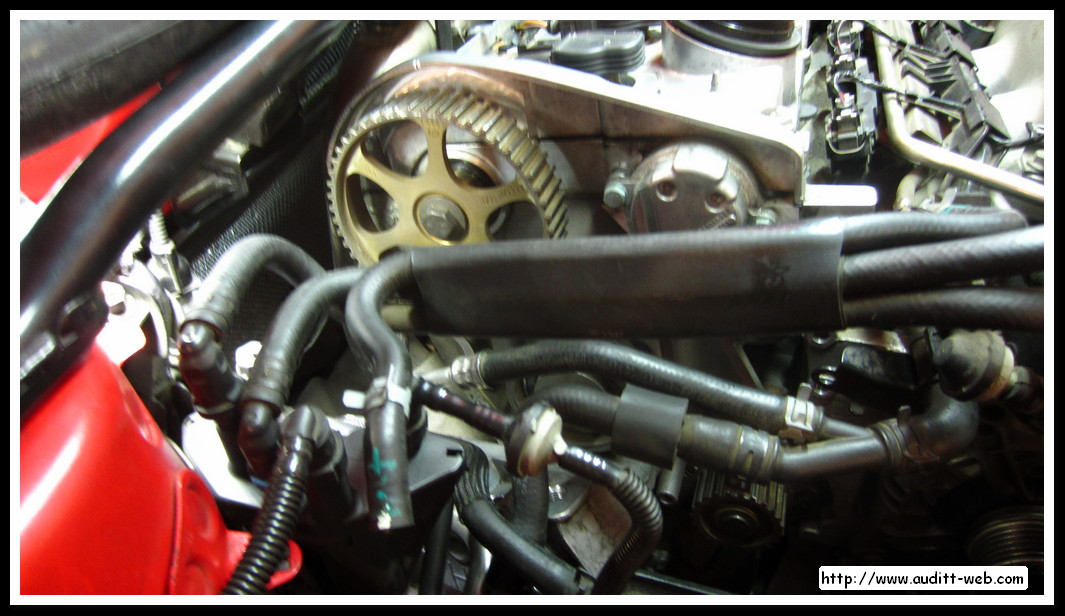
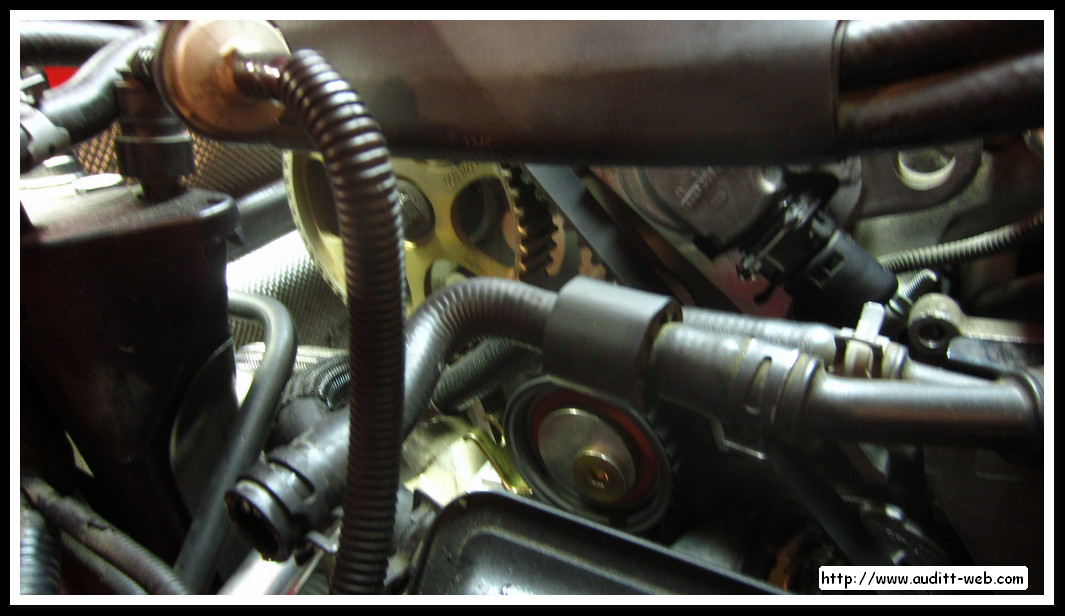
We realize the depth of the timing belt with the marks on the camshaft pulley, and also mark the position on the crankshaft.
 |
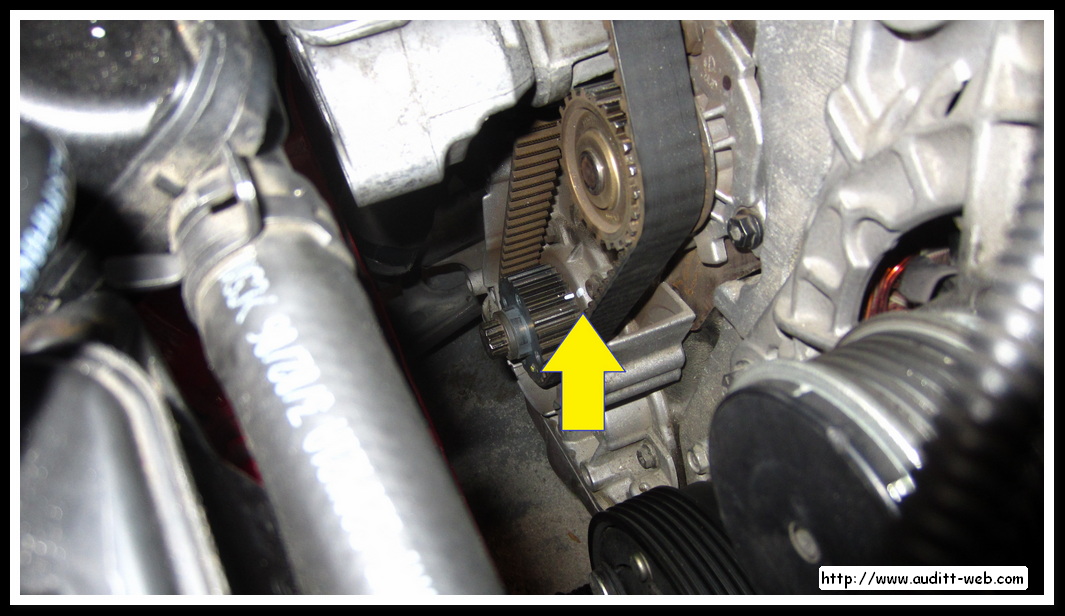 |
With screw (T10092) overcome the hydraulic tensioner timing belt.
 |
 |
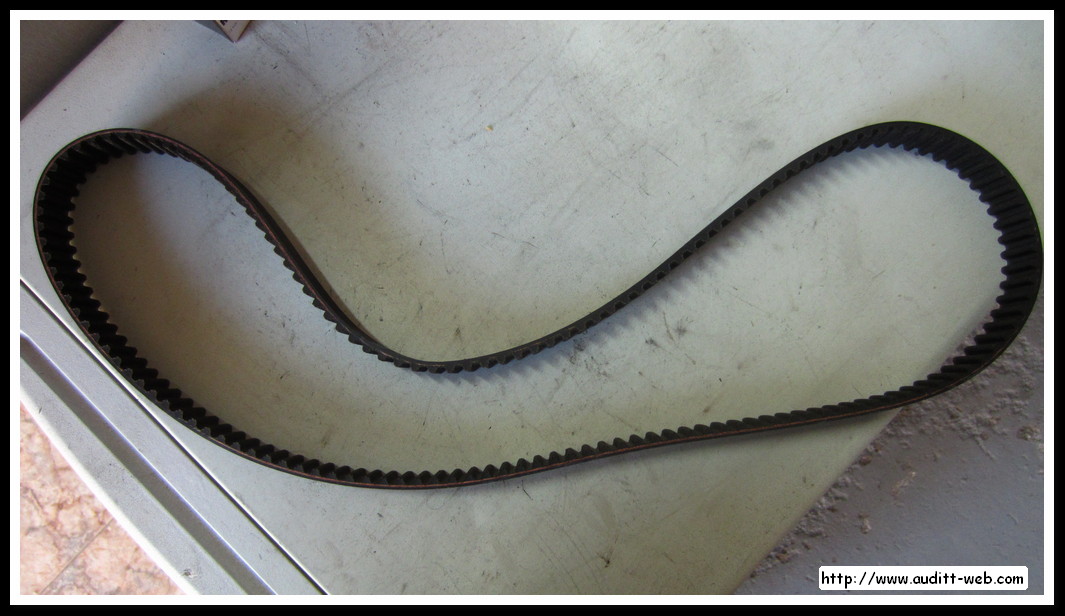
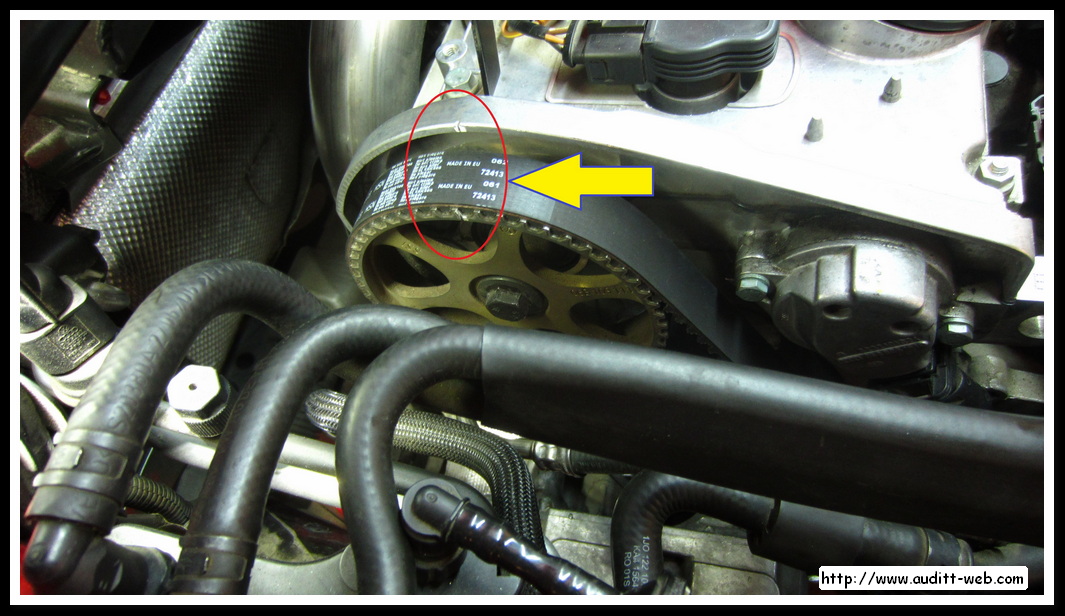
We took the old belt distribution (we can see how the original belt is Gates brand) between the engine and the engine mount.
 |
 |
 |
 |
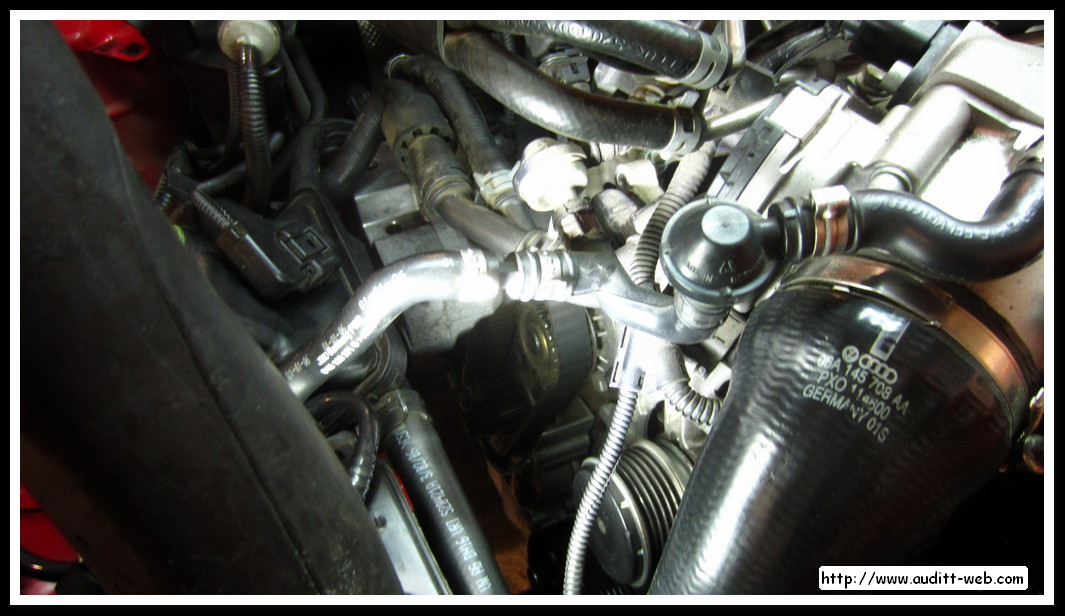
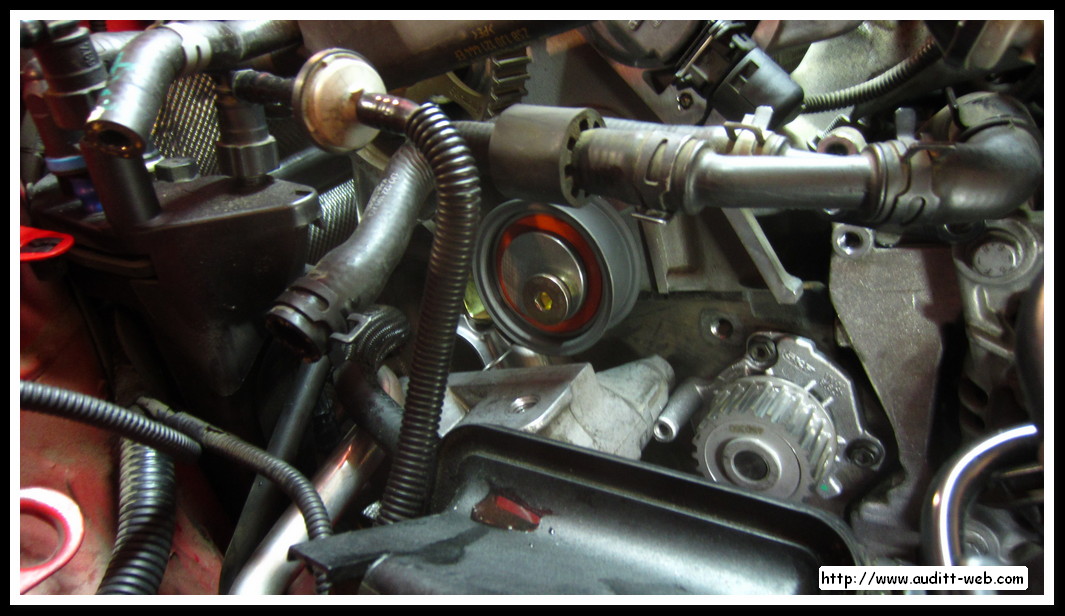
Move the motor bracket to tease out the remaining components. If necessary also vary the height of the engine with the jack for easy tasks (idler pulley, hydraulic tensioner and water pump).
 |
 |
 |
 |
 |
 |
 |
 |
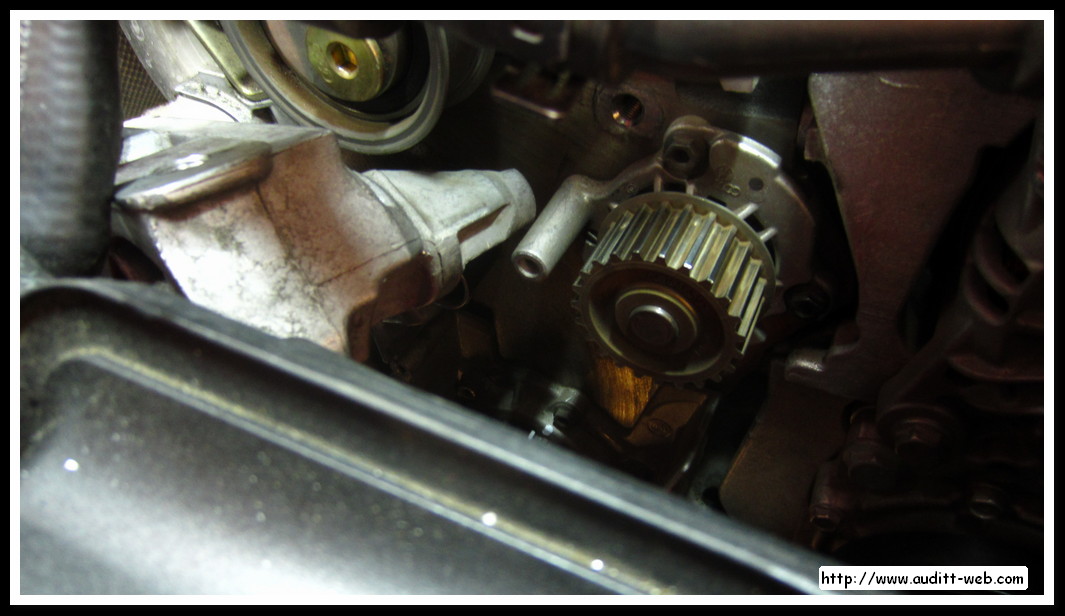
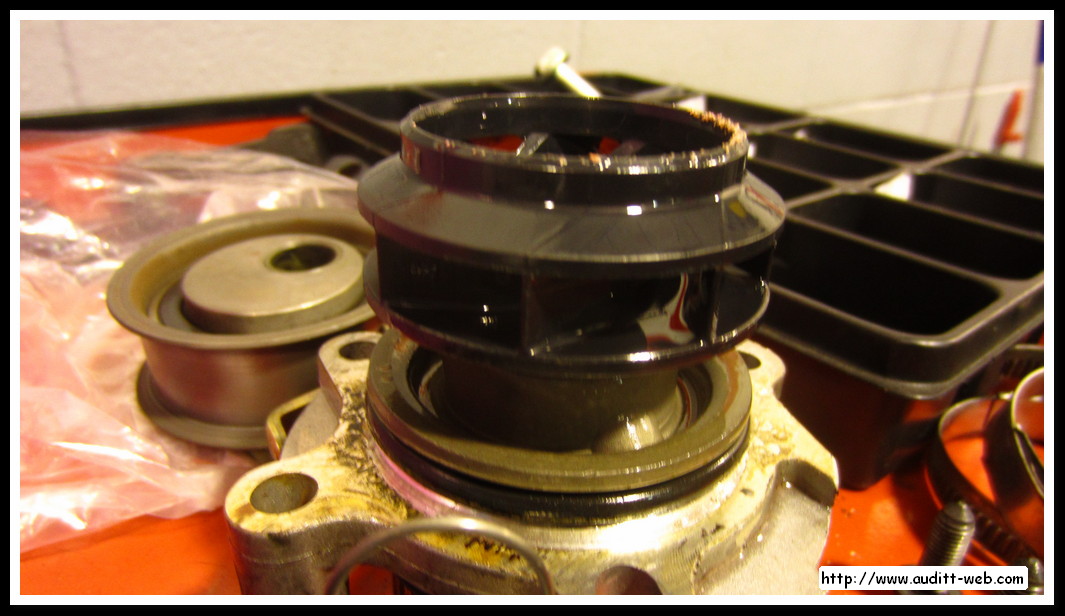
We put some silicone sealing on the new water pump ring .
 |
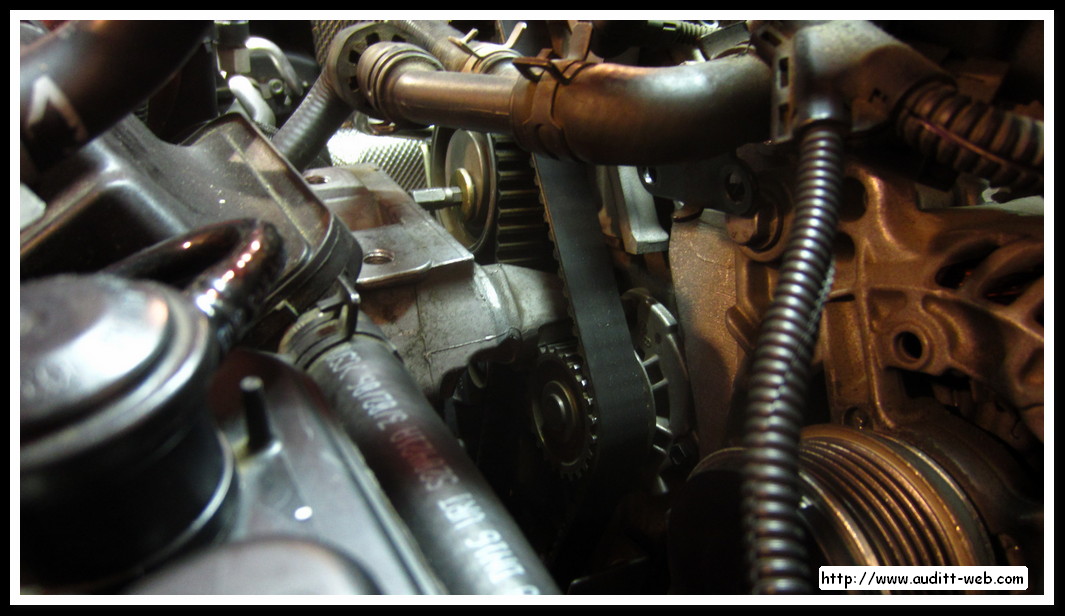
We set the new water pump, hydraulic tensioner and idler pulley.
 |
 |
 |
|
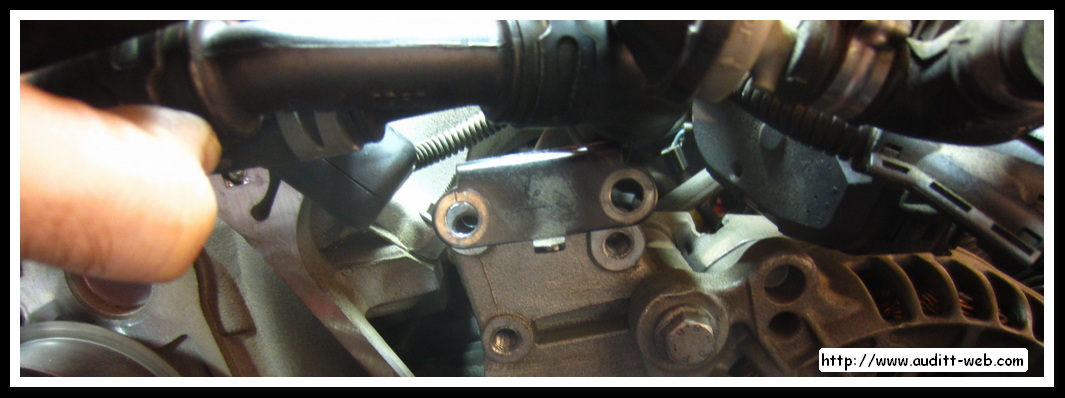
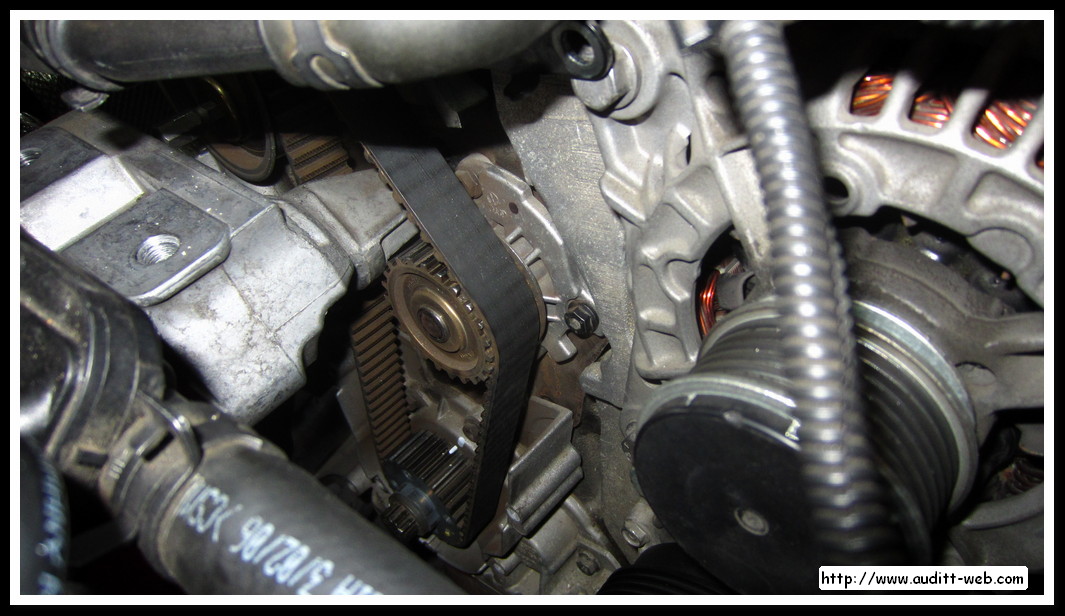
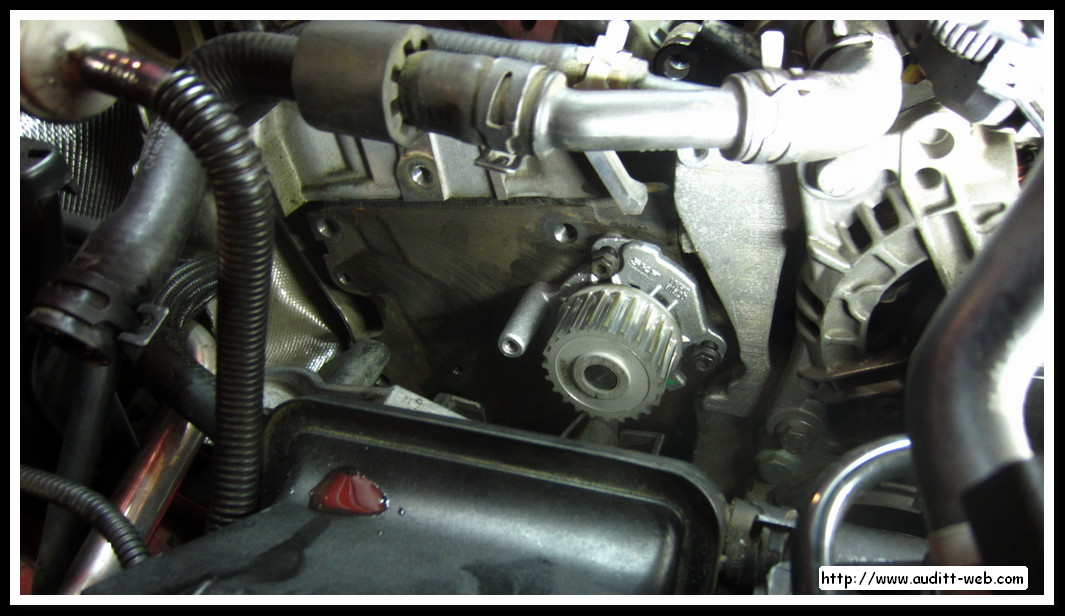
We stress the pulley with the bolt (T10092) to facilitate placement of the new timing belt.
 |
We put the new timing belt, passing between the motor bracket to install (attention to the motor bracket to make it right for reassembly). The belt, being new, comes very fair and tensioned (despite having the compressed tensor). Once installed, verify that it is properly shed.
 |
 |
 |
 |
 |
 |
We took the tensioning screw (T10092).
 |
We proceed to mount the other elements:
- We set the motor bracket (vary the height of the engine with the jack to make it easier).
- Mount the engine silemblock (vary the height of the engine with the jack to make it easier).
- Mount the tensioner-pulley and the Poly-V belt.
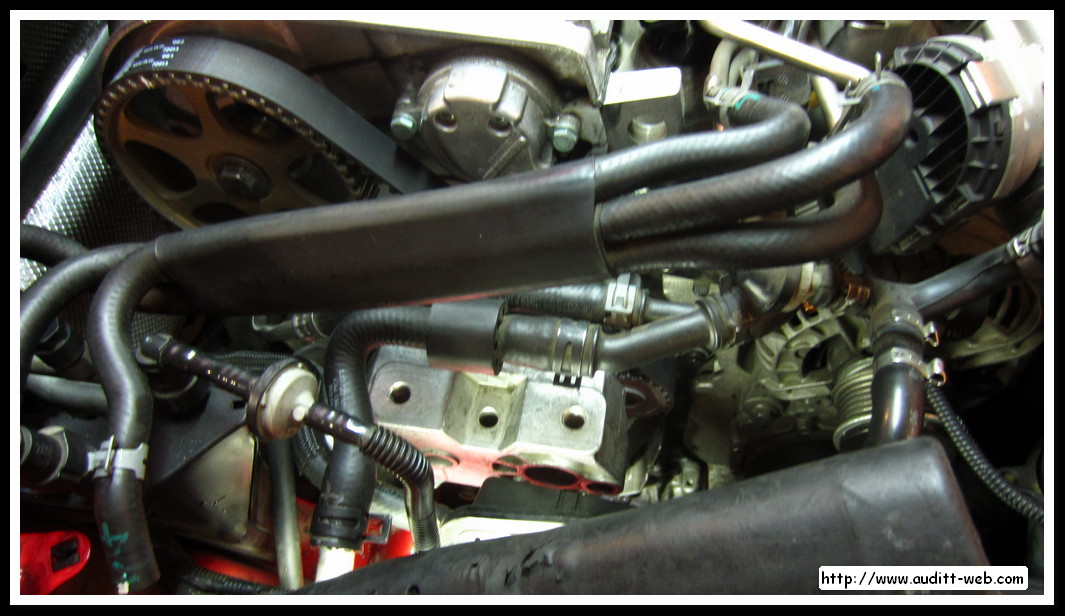
- Install protective, coolant tank, intercooler pipe and other items.
Finally, fill the coolant reservoir, start the engine, and control the level.
| Tweet |